Setup 2N intercom for dailing via CoCoS Call Handling (Button.0)
Introduction
This article explains how to configure a 2N intercom device, such as a 2N IP Audio Kit or 2N IP One, so that a single physical button can call a CoCoS call plan.
Application
This configuration is used when a 2N intercom must call CoCoS through SIP registration.
Example use cases:
- A visitor presses the intercom button.
- The intercom calls
button.0. - CoCoS receives the call.
- CoCoS starts the configured call plan.
How-To
Setup the SIP account
Note that the sip-account needs to be created in the server first. If using a CoCoS server, find instructions on the page SIP Intercom Calling via Dial Button (button.0)
|
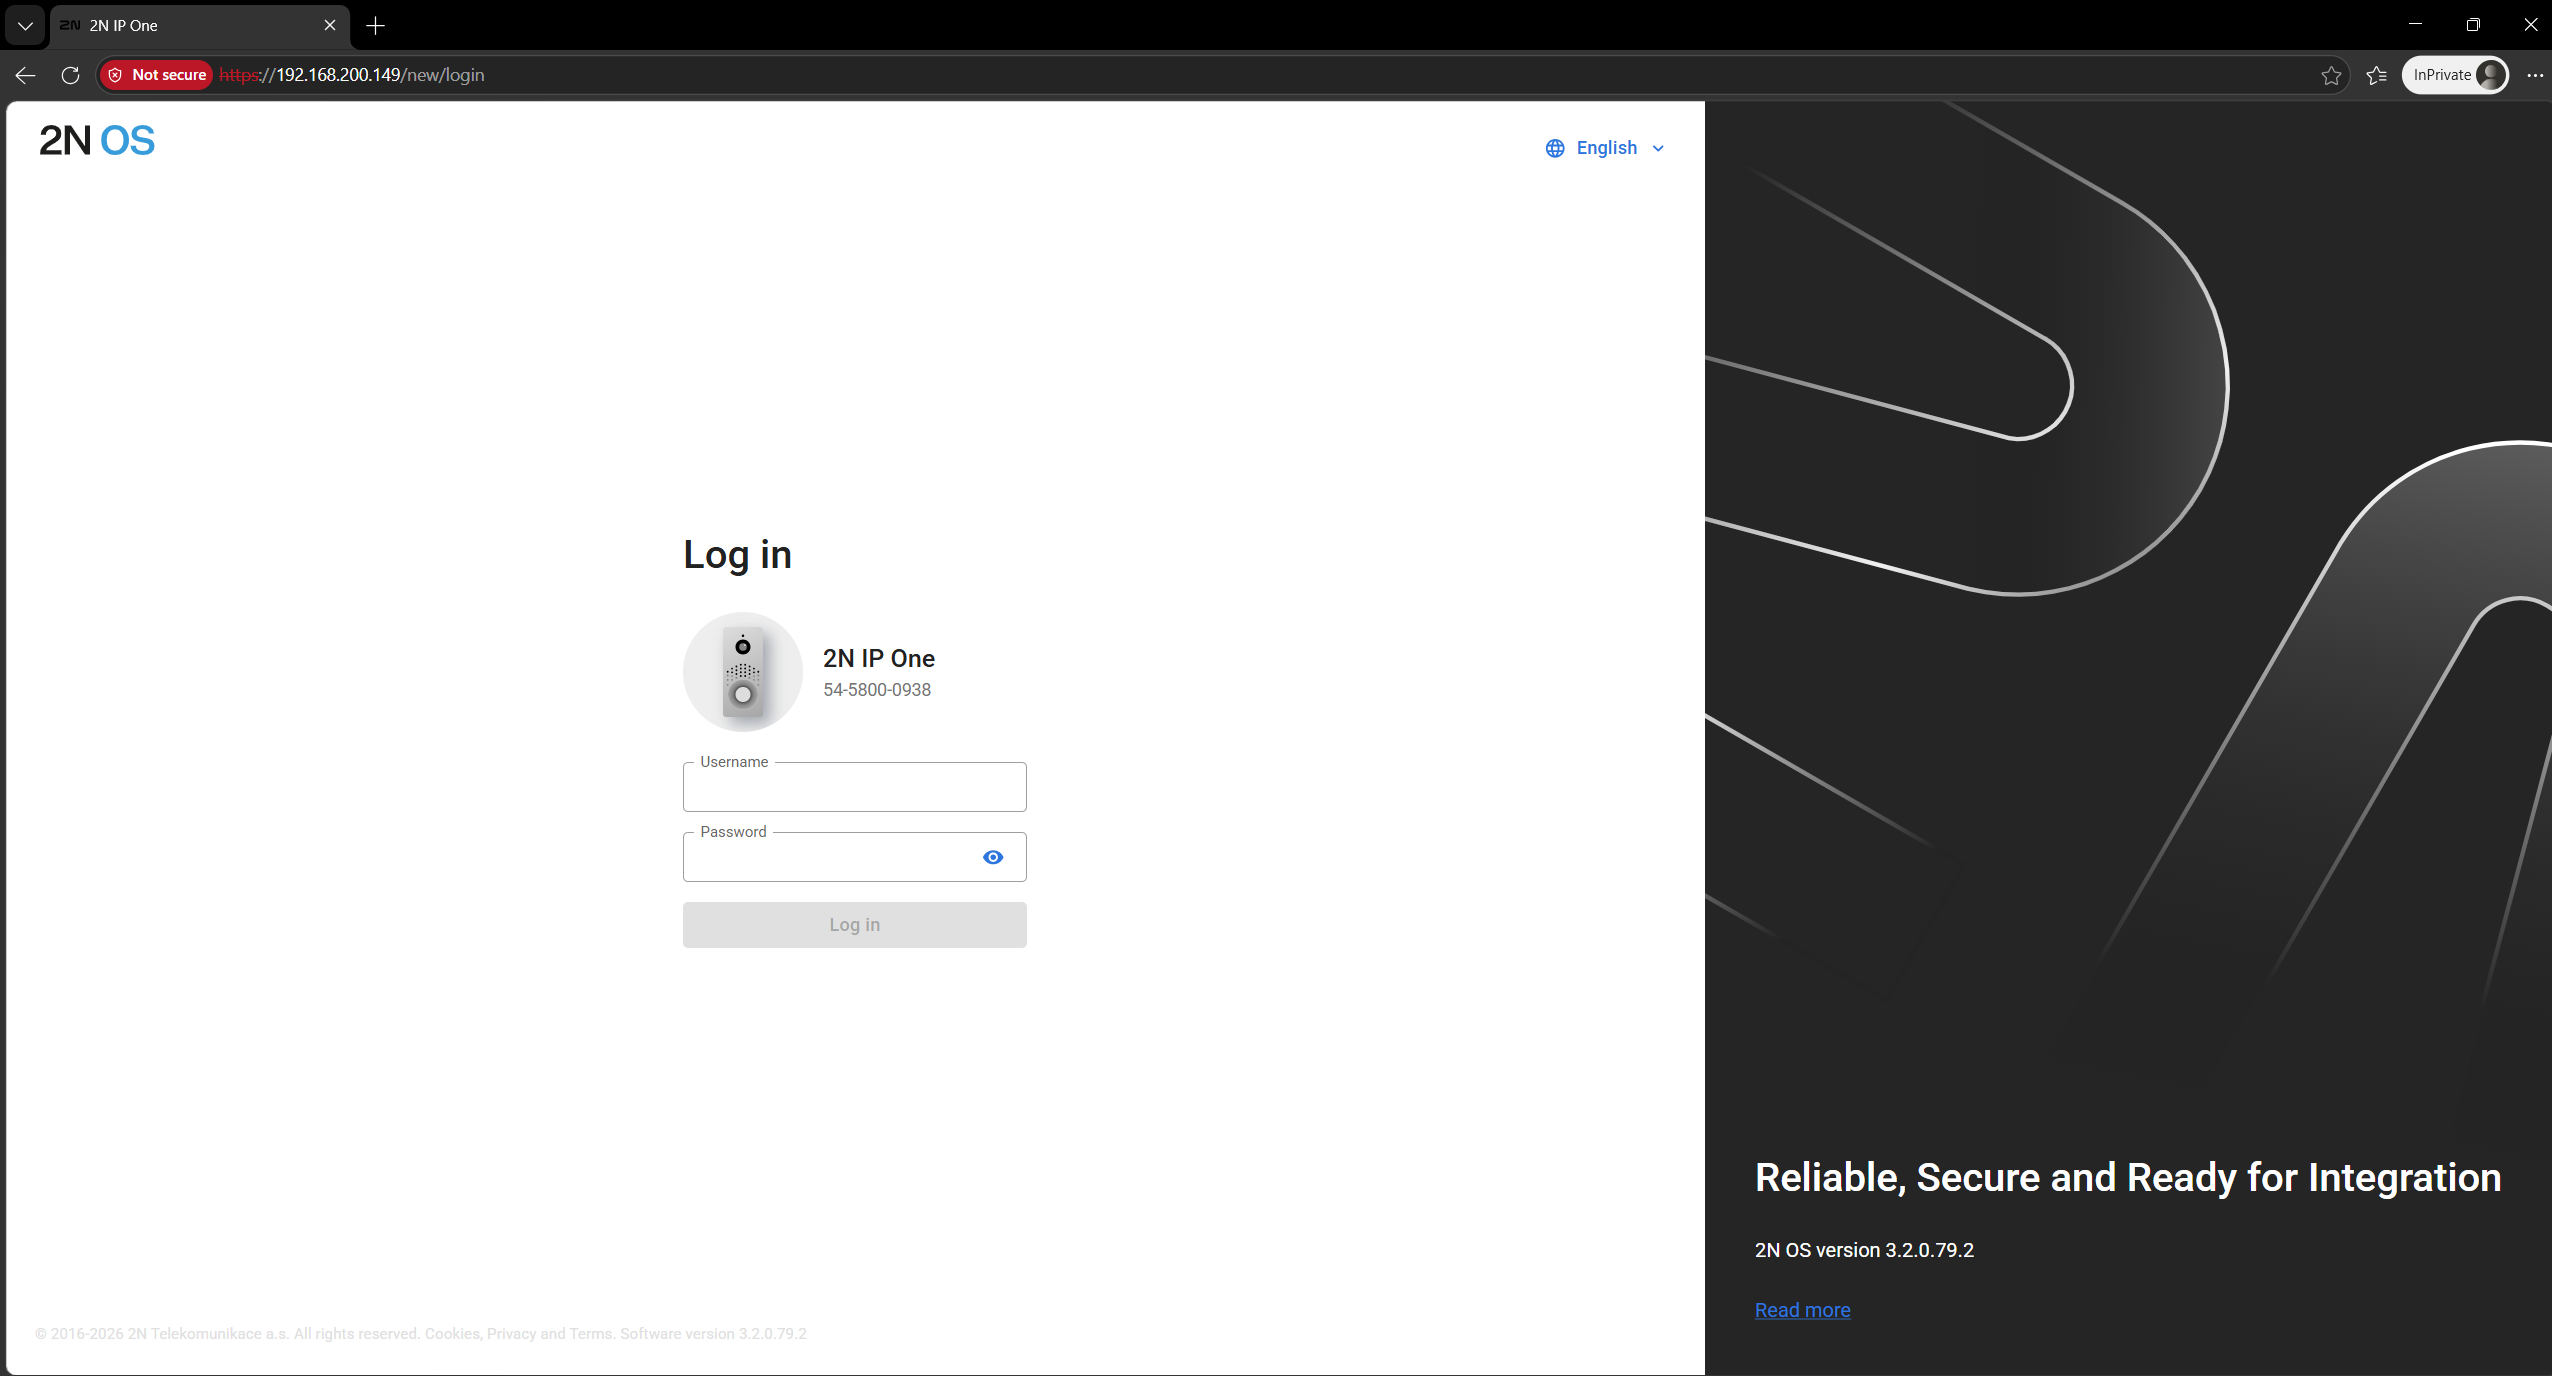
Open the web browser and navigate to the web interface of the intercom station.
The username and password must be provided by the client or Sonexus.
default user credentials: user: admin |
|
|
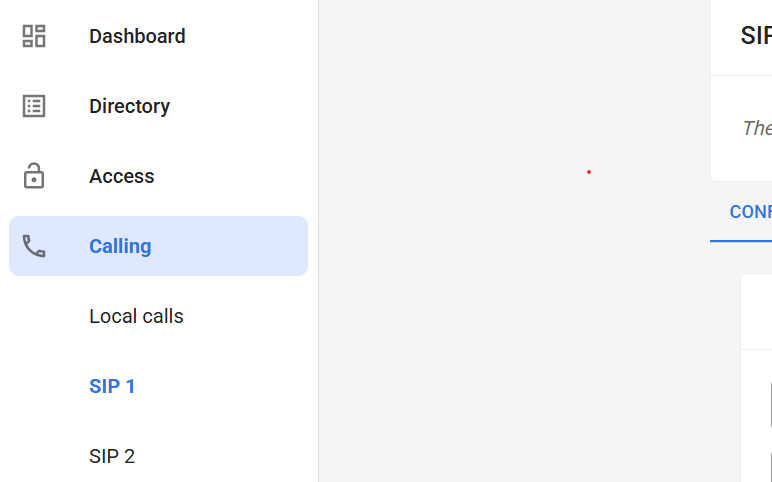
In the 2N web interface, go to Calling. |
|
|
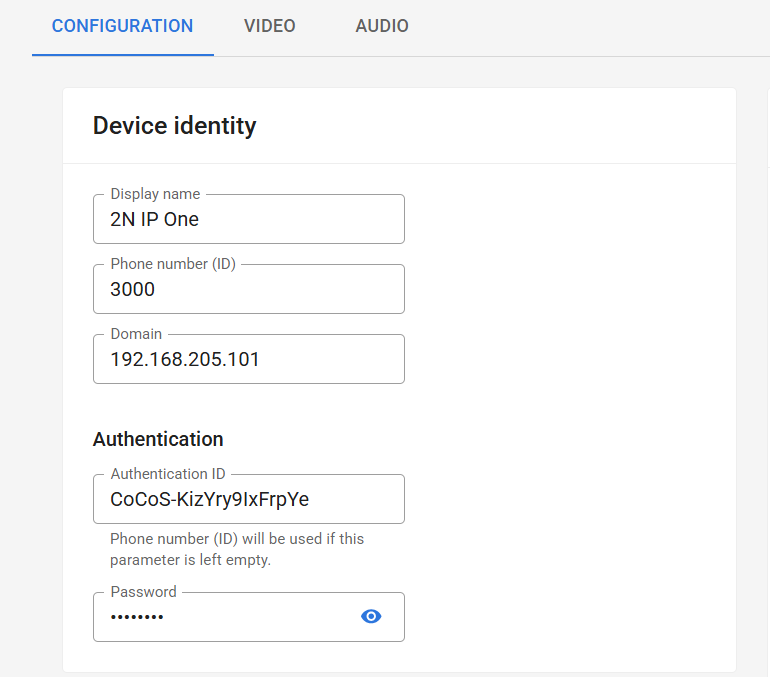
Configure Device identity Open SIP 1. If another SIP account is used, open SIP 2, SIP 3, or the correct SIP profile.
Enter the following details for device identity:
Enter the following details for authentication:
|
|
|
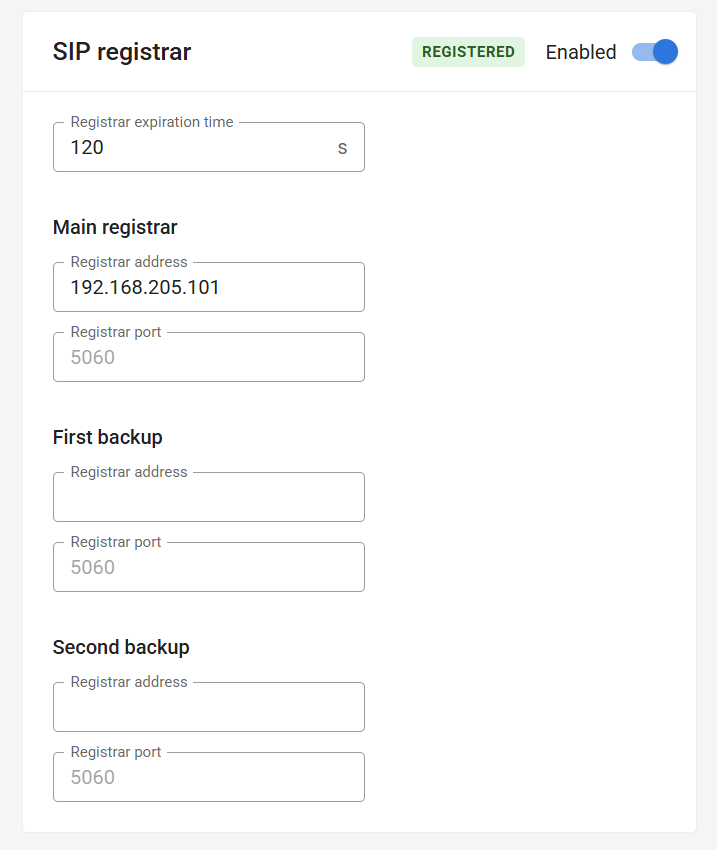
Configue SIP registrar
Enter the following details for registration:
|
|
|
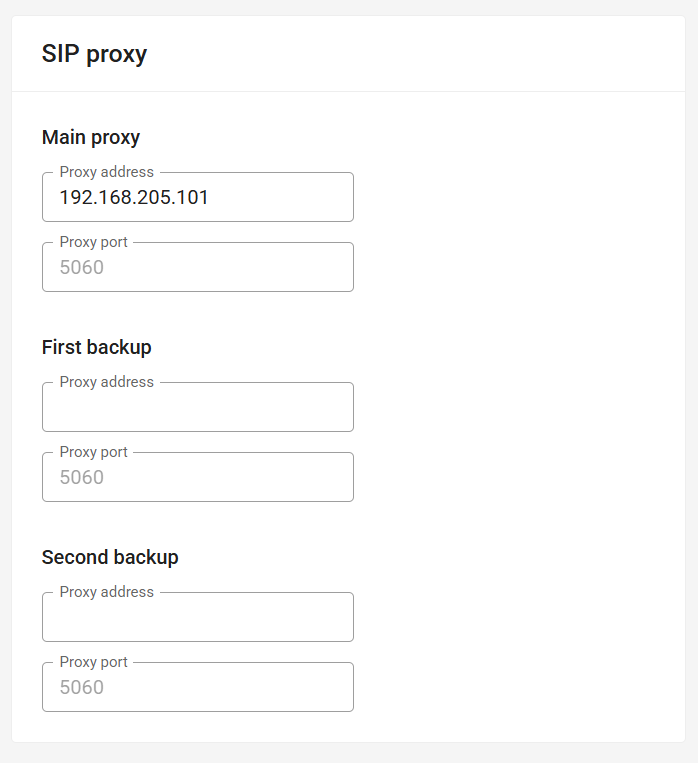
Configure SIP proxy
Enter the following details for Main proxy:
|
|
Callhandling for button 0
|
Open the web browser and navigate to the web interface of the intercom station.
The username and password must be provided by the client or Sonexus.
default user credentials: user: admin |
|
||||||
|
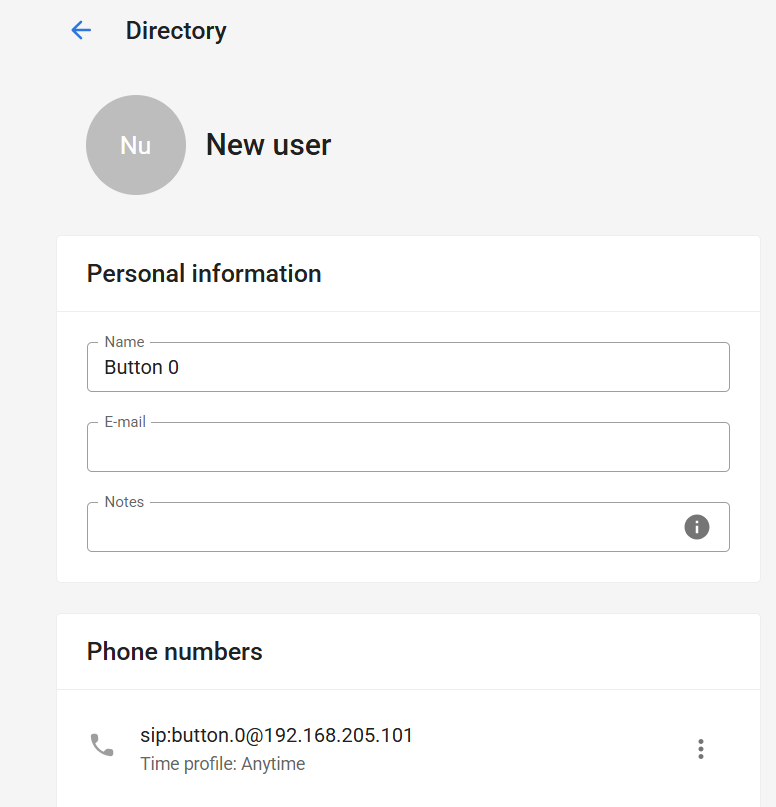
Navigate to Directory
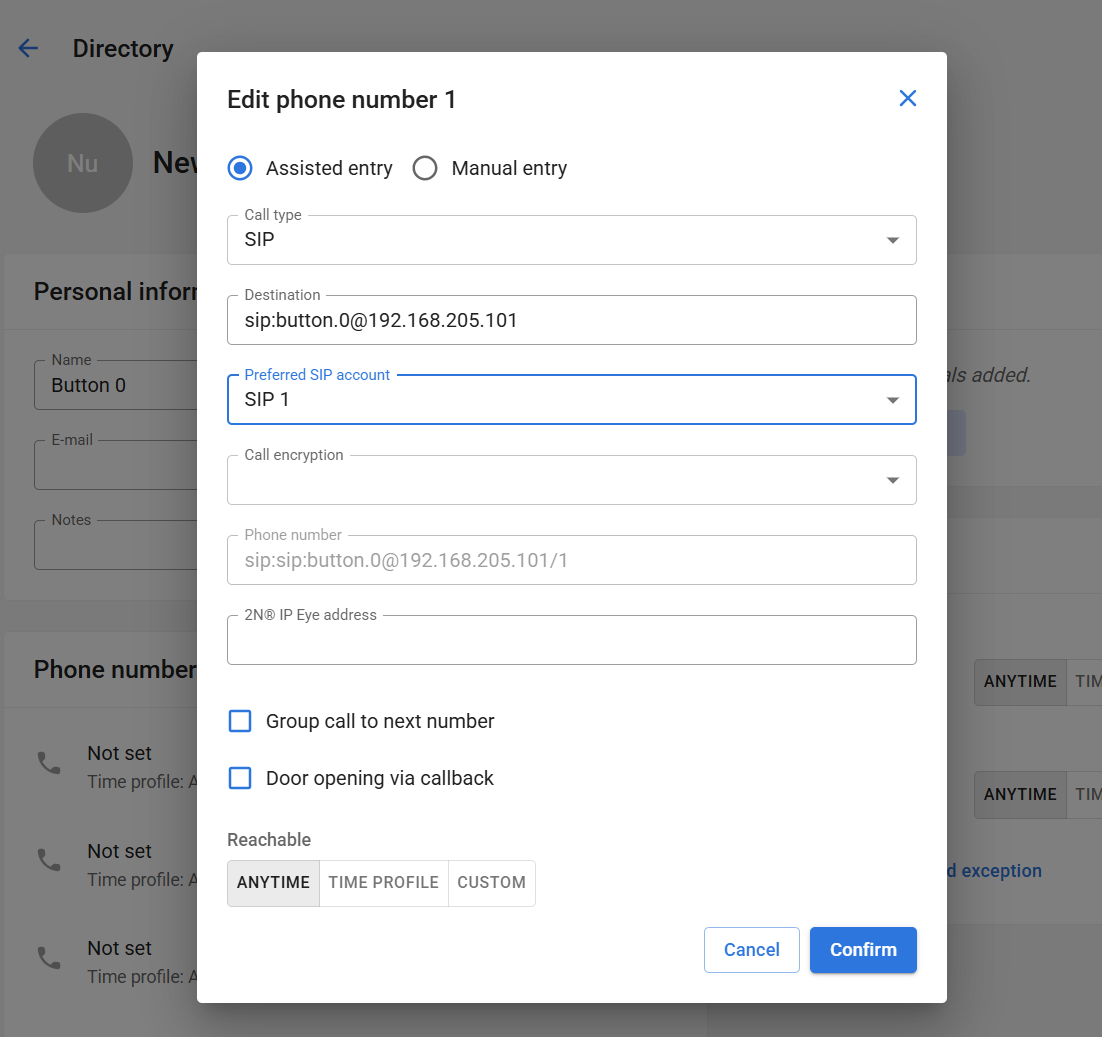
Add a new user or open the existing user used for the call button. In the user entry, configure the first phone number:
Use the following destination format: Example: Where:
In older systems button MUST be lowercase to prevent issues. |
|
||||||
|
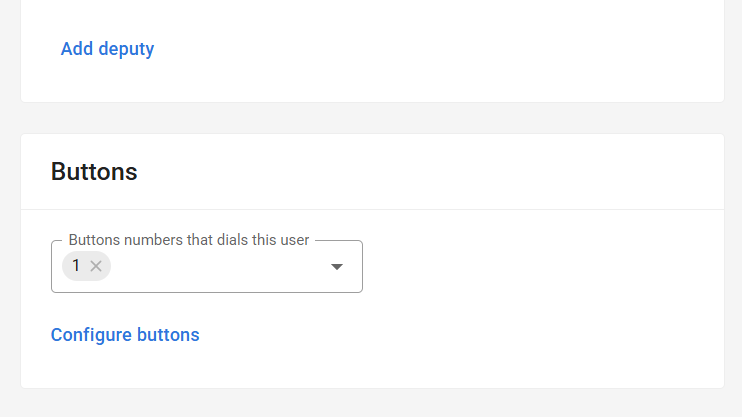
In the user settings select the physical button that should call CoCoS. For a single-button intercom, this is commonly button
|
|
Validation
After completing the configuration, test the full call flow.
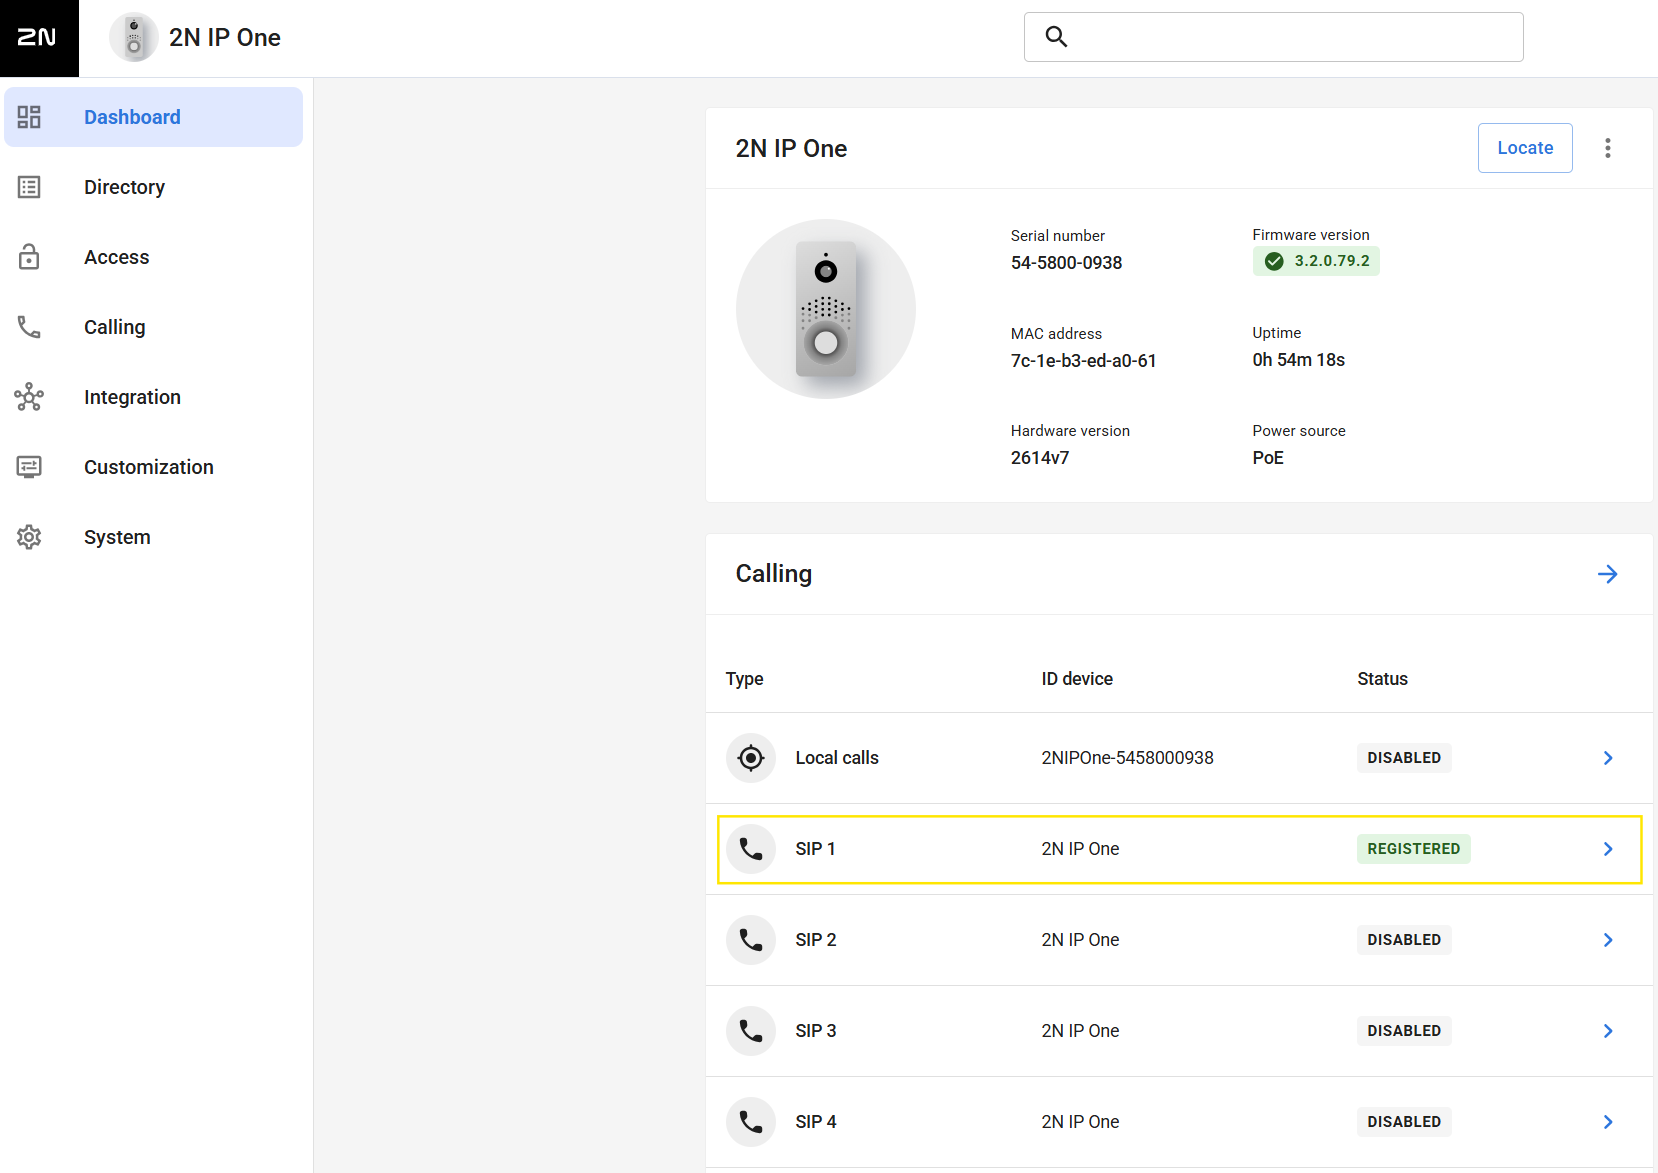
| Confirm that the SIP account is registered in the 2N interface. |
|
Troubleshooting
The SIP Account Does Not Register
Possible causes:
- The SIP domain is incorrect.
- The register address is incorrect.
- The authentication ID is incorrect.
- The password is incorrect.
- The SIP account does not exist on the server.
How to resolve:
- See: https://knowledgebase.cocos.software/books/cocos/page/intercom-not-registering-device-not-available
Pressing the Button Does Nothing
Possible causes:
How to resolve:
- Open the directory user.
- Confirm that the SIP destination is configured.
- Open the button configuration.
- Confirm that the physical button is linked to the correct user.
- Save the configuration.
- Test the button again.