Setup Commend ET908H or IM3 for dailing via CoCoS Call Handling (Button.0)
Introduction
Using devices like the Commend ET908H and Command IM3, it is possible to perform a post-dial action on available outputs via a web request. This use case describes how to configure a Commend intercom (ET908H/IM3) together with CoCoS when the intercom is used with a single push button (configured as button.0) to call a call plan. The called number then triggers a script via a DTMF key press (key 1), which sends a web request to activate an output on the ET908H/IM3 with a 1-second pulse (or custom time).
Hardware
The implementation of this use case is applicable to the following Commend master and/or sub-stations in combination with a CoCoS SIP configuration:
| Applicable Devices | Firmware version | Interface API/Version |
| Commend ET908H | ||
| Commend IM3 | ||
General Settings
|
ET908H |
IM3 |
|
|
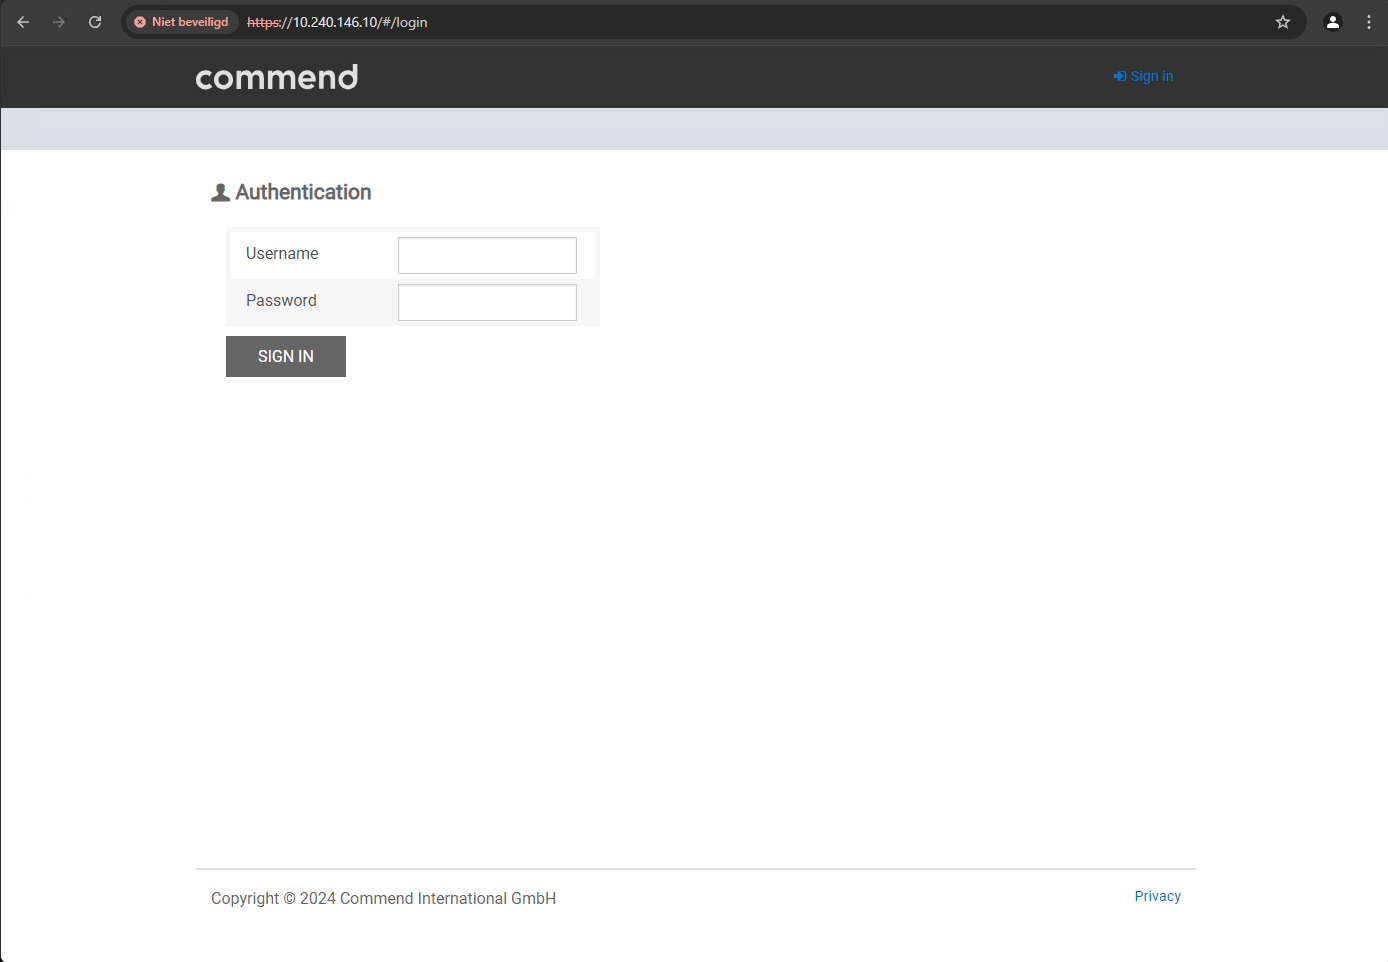
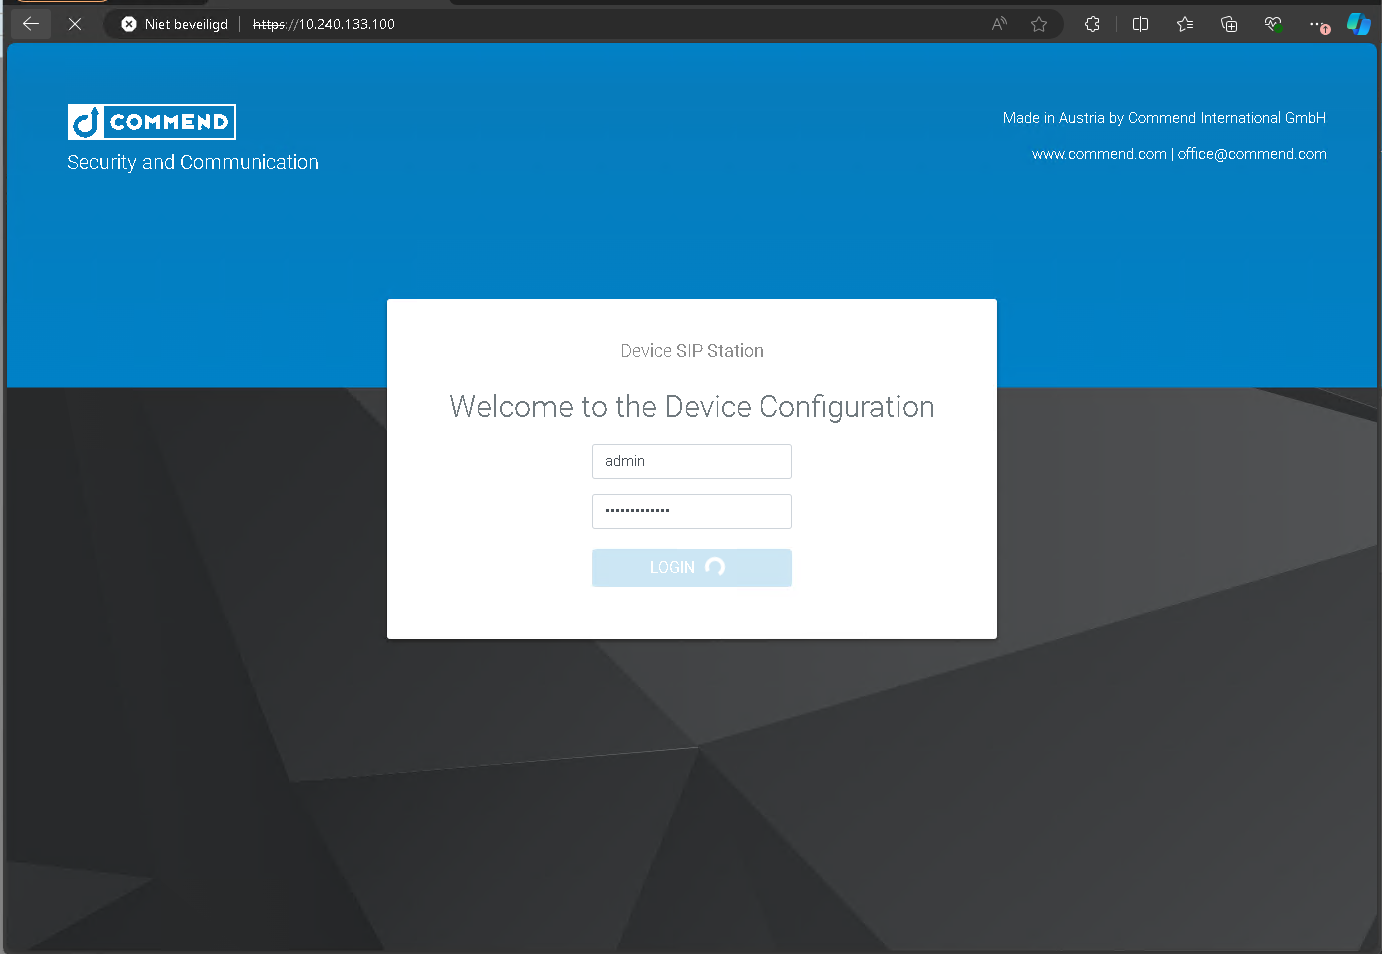
Open the web browser and navigate to the web interface of the intercom station.
The username and password must be provided by the client or Sonexus. |
default user credentials: user: admin |
default user credentials: user: admin |
|
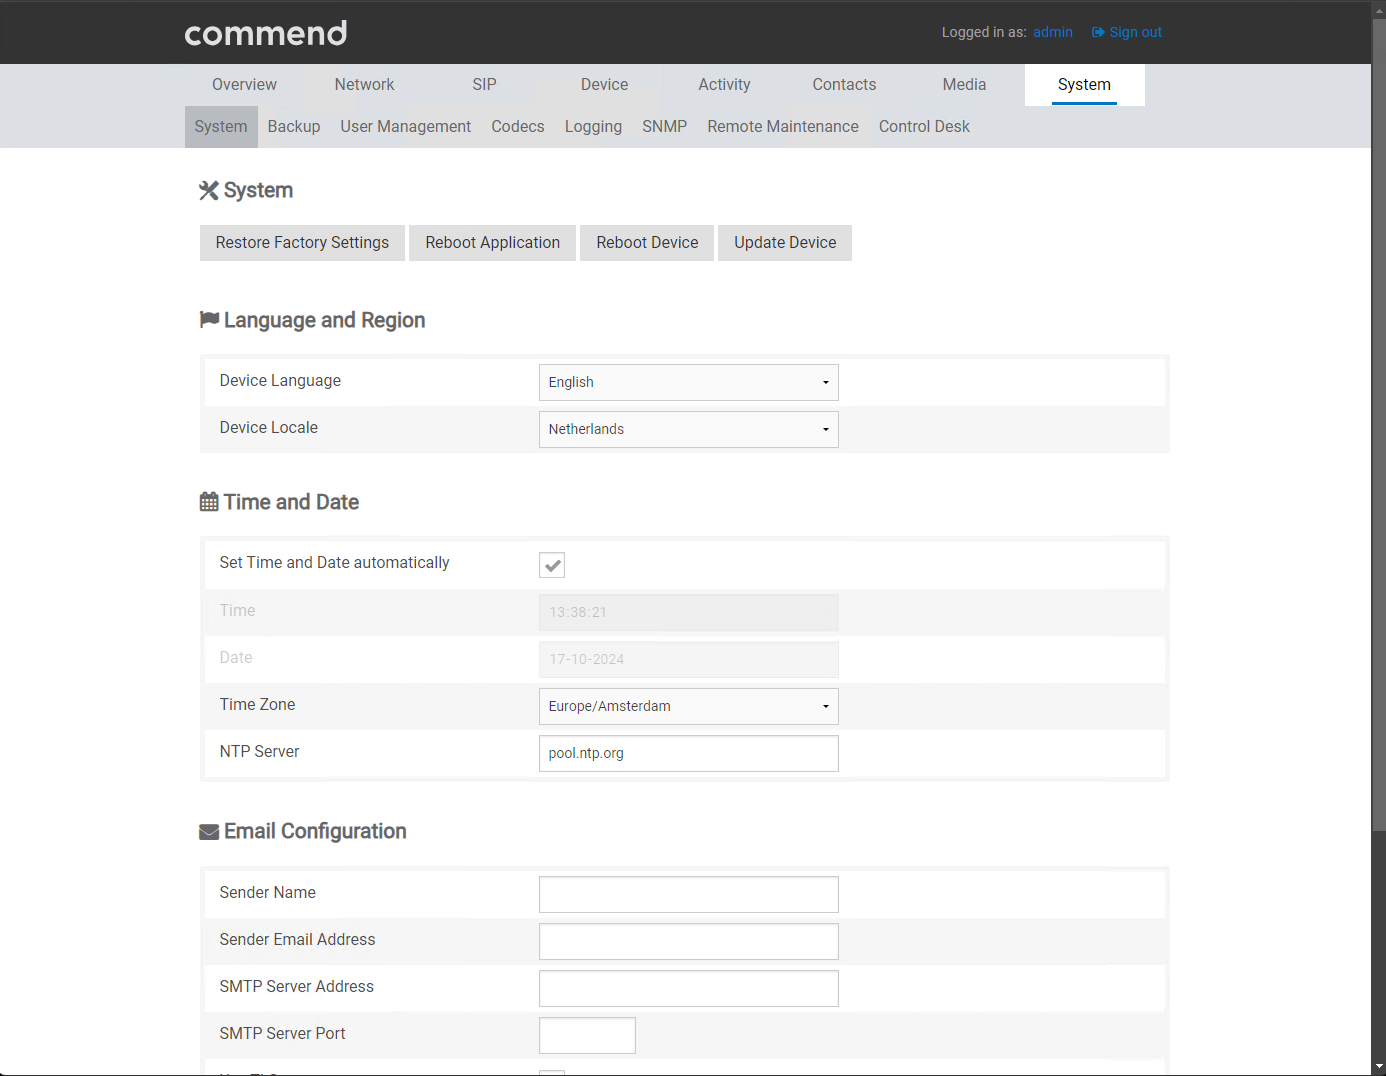
Go to System and configure the correct language/region and date and time settings. |
|
|


Setup the SIP account
Note that the sip-account needs to be created in the server first. If using a CoCoS server, find instructions on the page SIP Intercom Calling via Dial Button (button.0)
|
ET908H |
IM3 |
|
|
Open a web browser and navigate to the web interface of the intercom station.
The username and password must be provided by the client or Sonexus. |
default user credentials: user: admin |
default user credentials: user: admin |
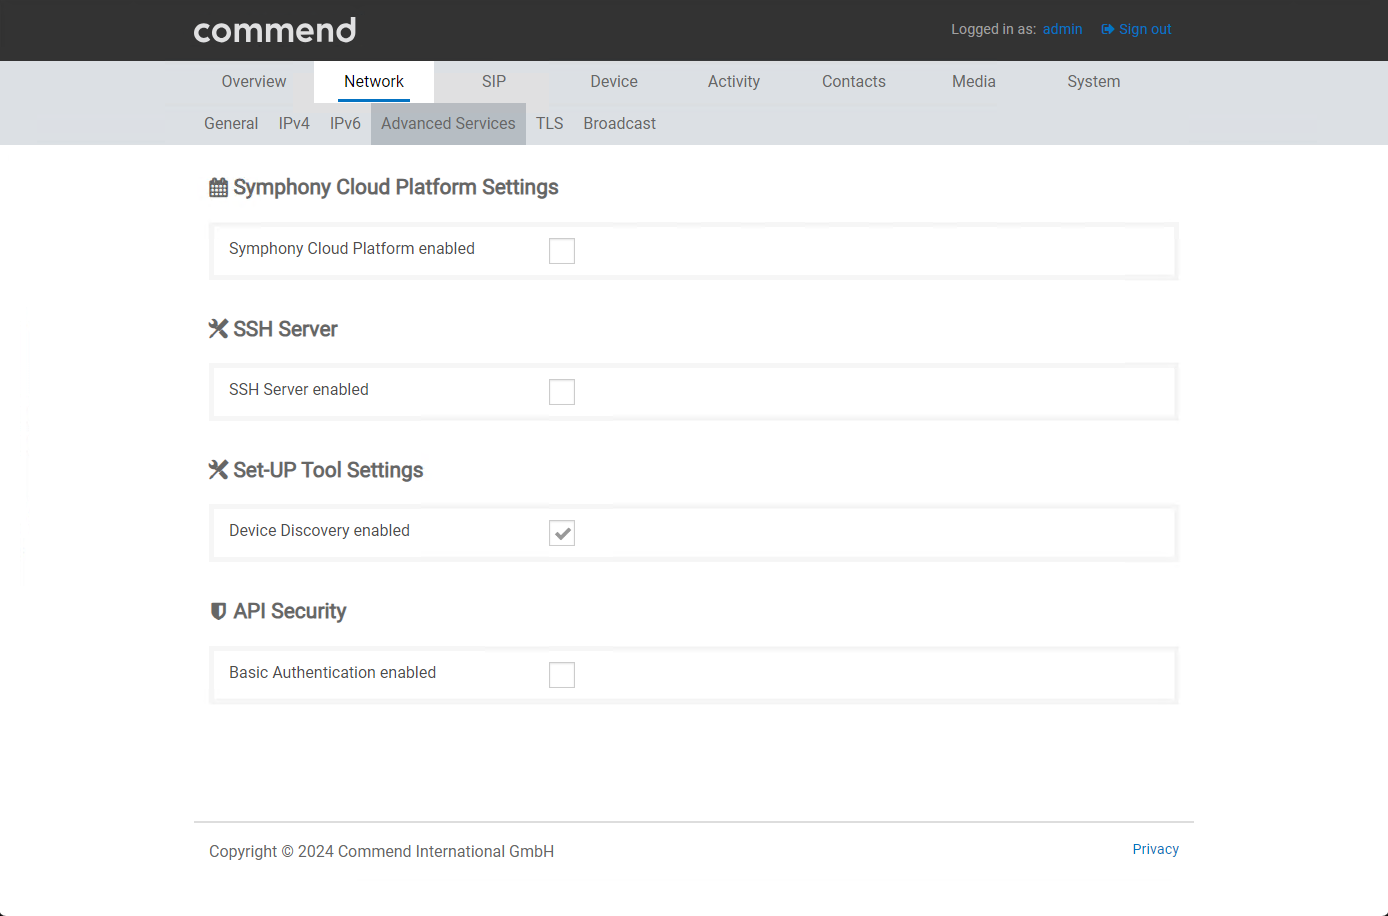
| Disable Symphony Cloud. |
NETWORK/Ethernet/Advanced services. |
NETWORK/Advanced Services
|
|
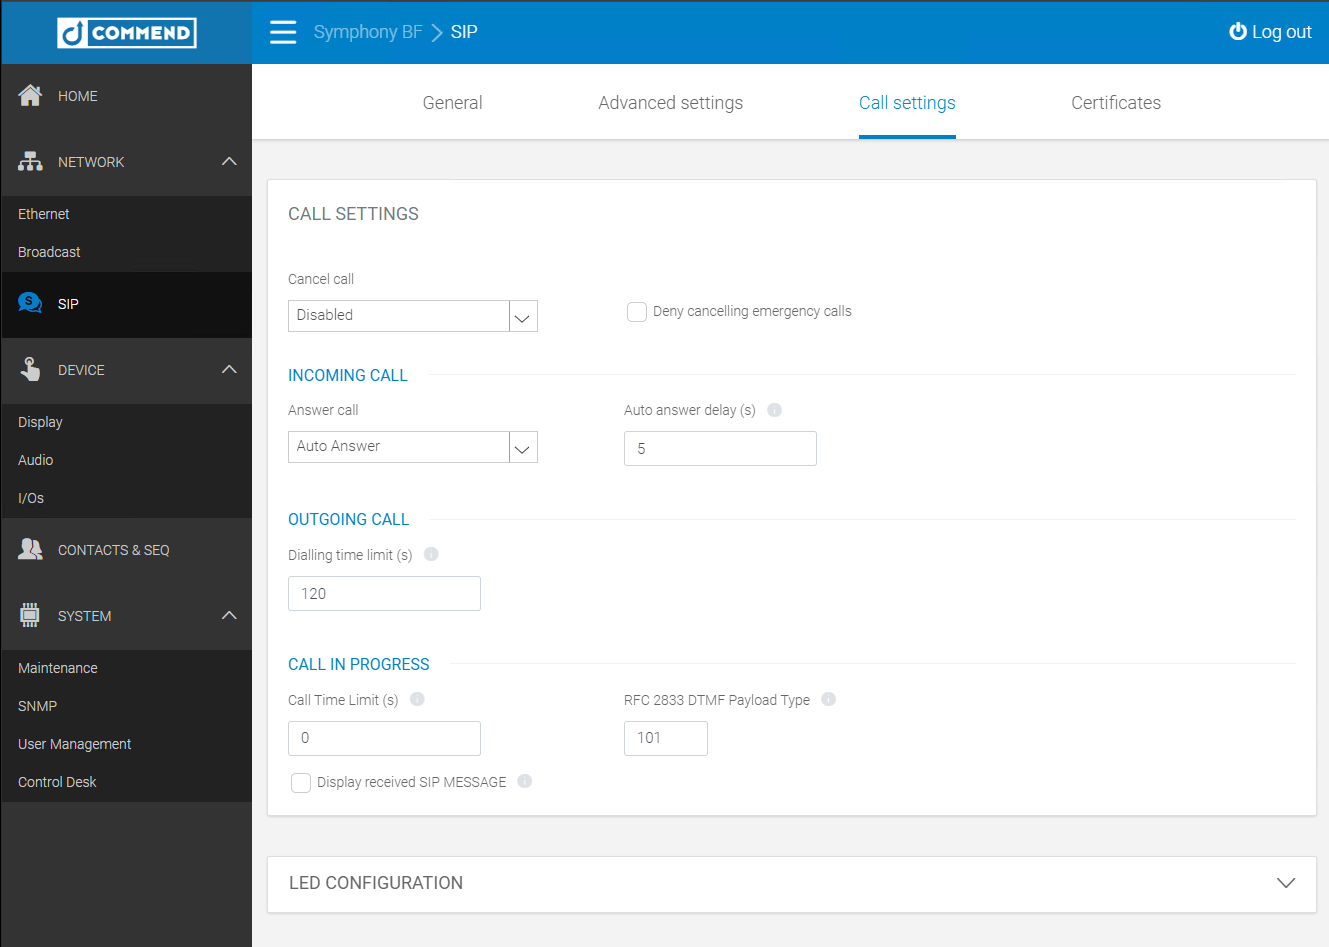
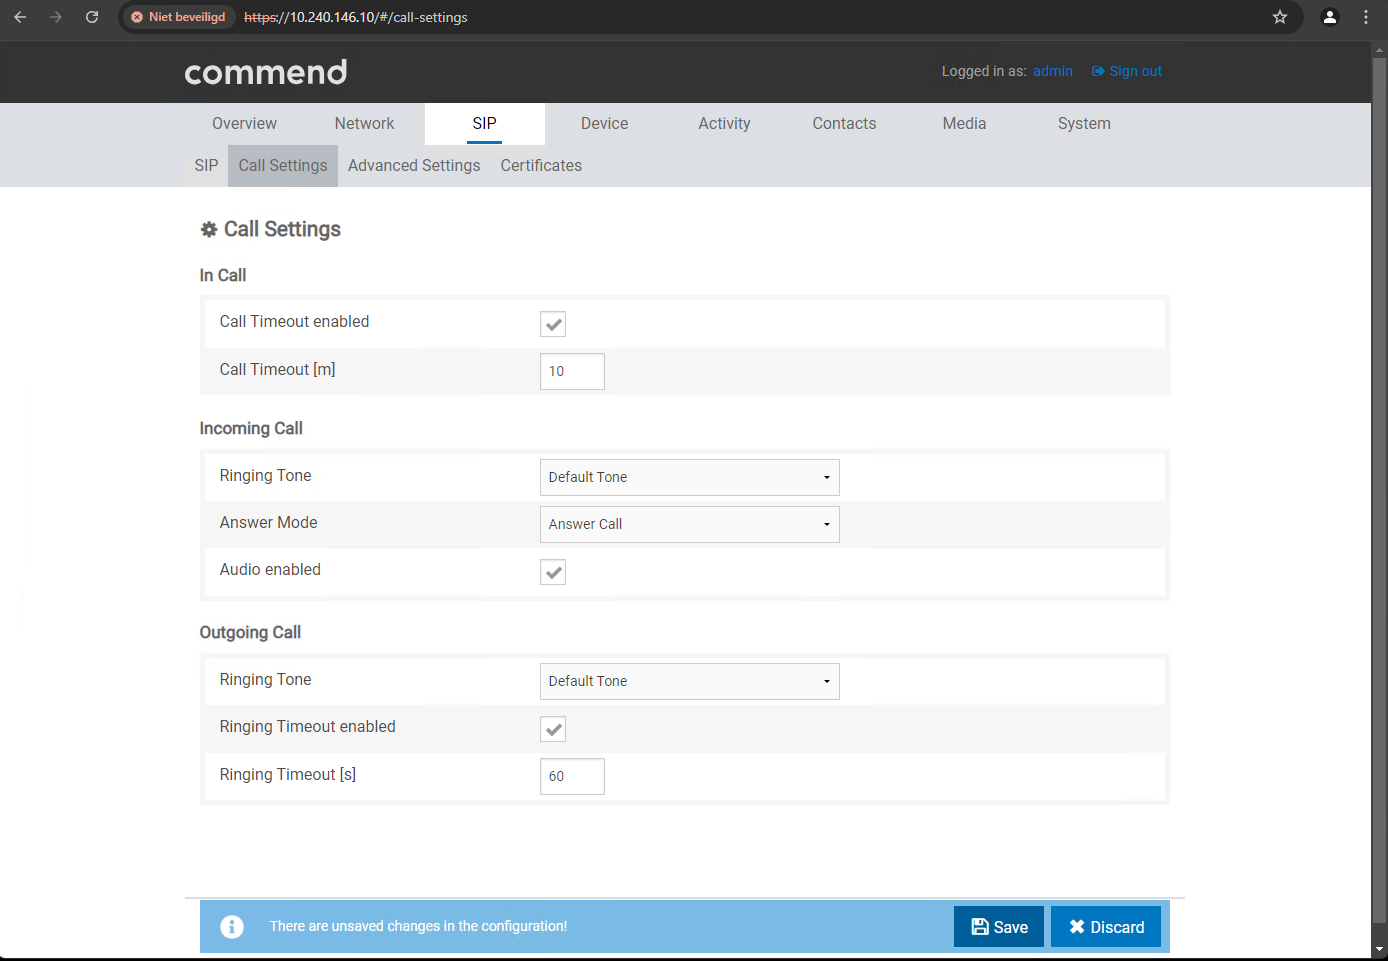
Enable Auto Answer in SIP / Call Settings.
Under Incoming Call, set the option “Answer Mode” to “Answer Call.” |
|
|
|
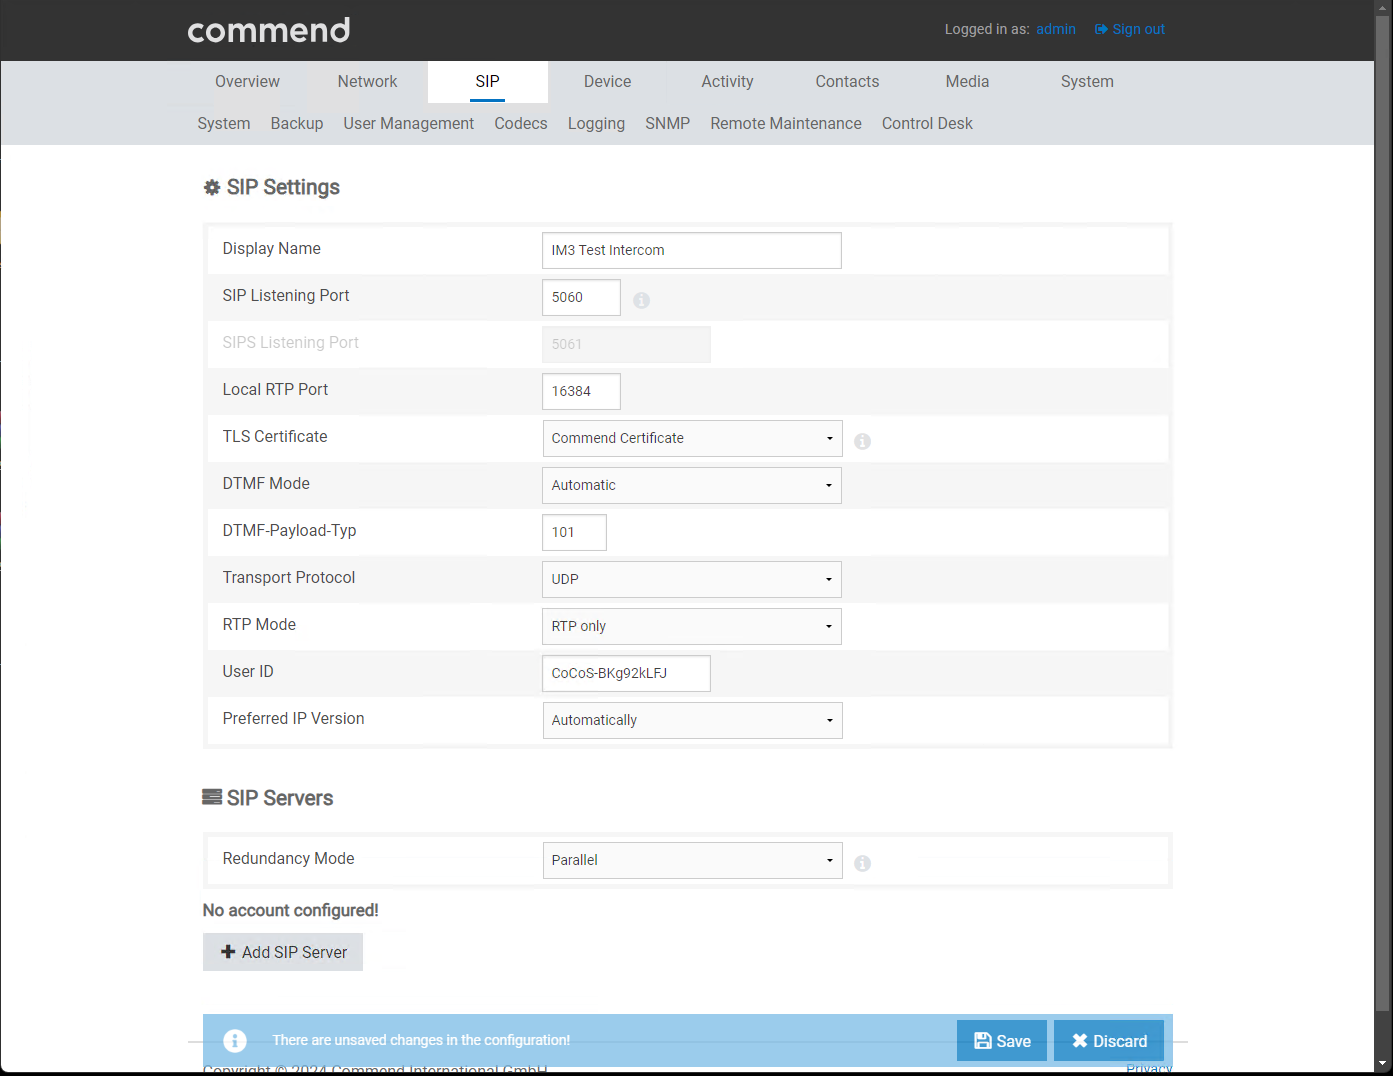
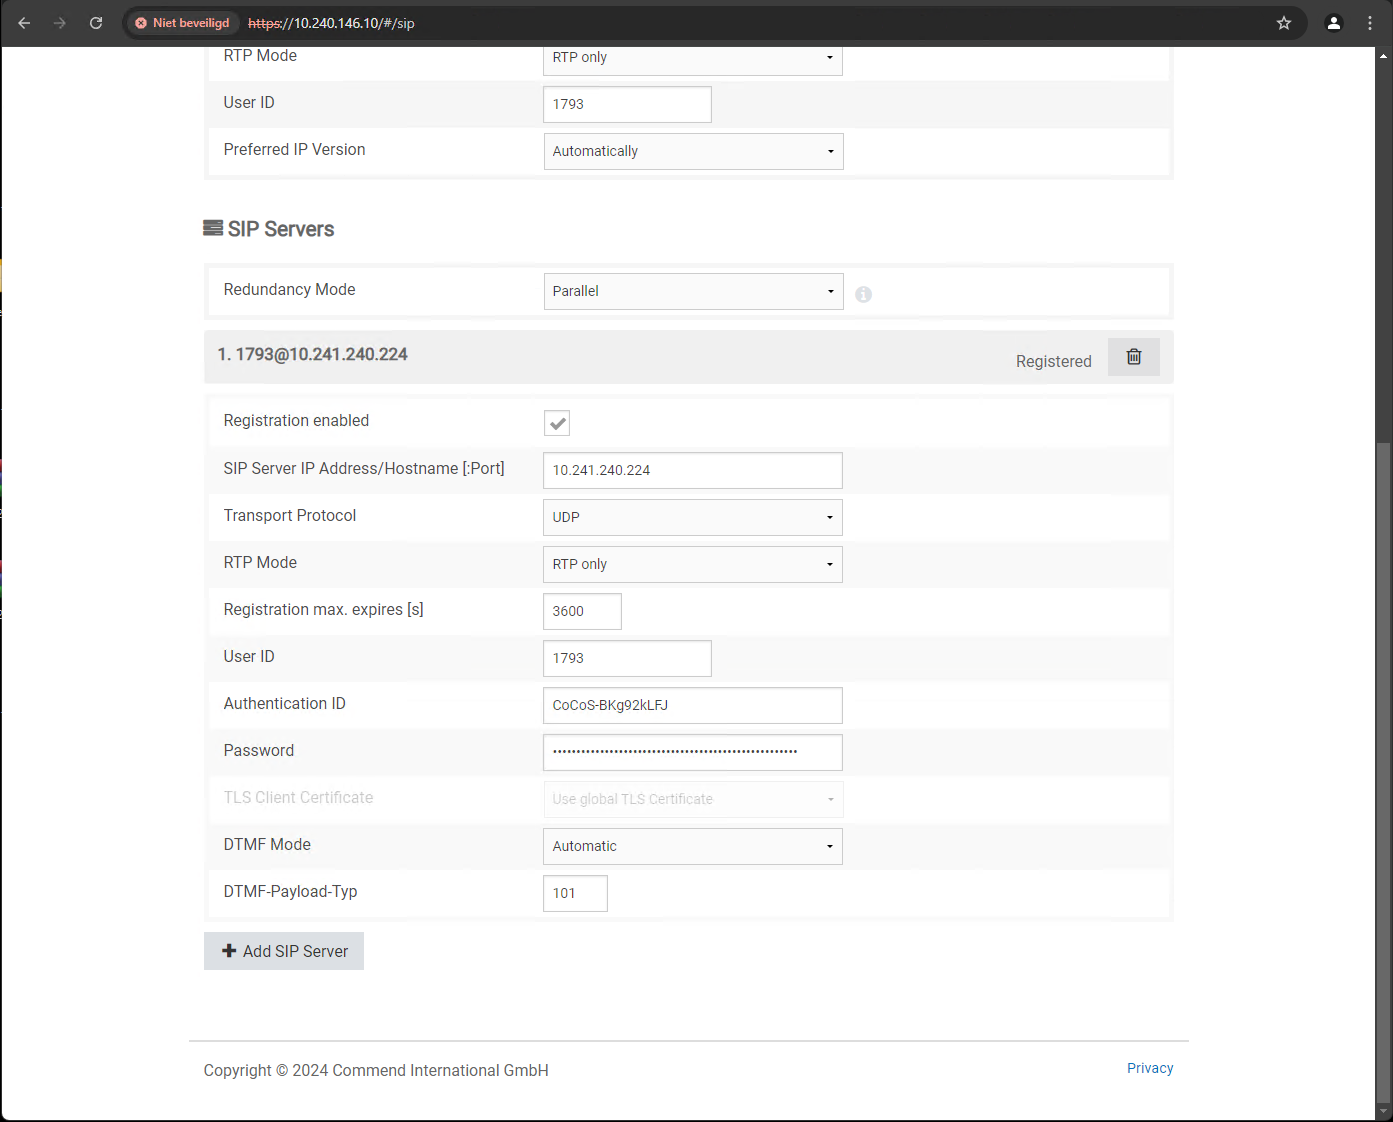
Configure SIP registration / authentication.
Enter the following details for registration: - Display name |
|
|
|
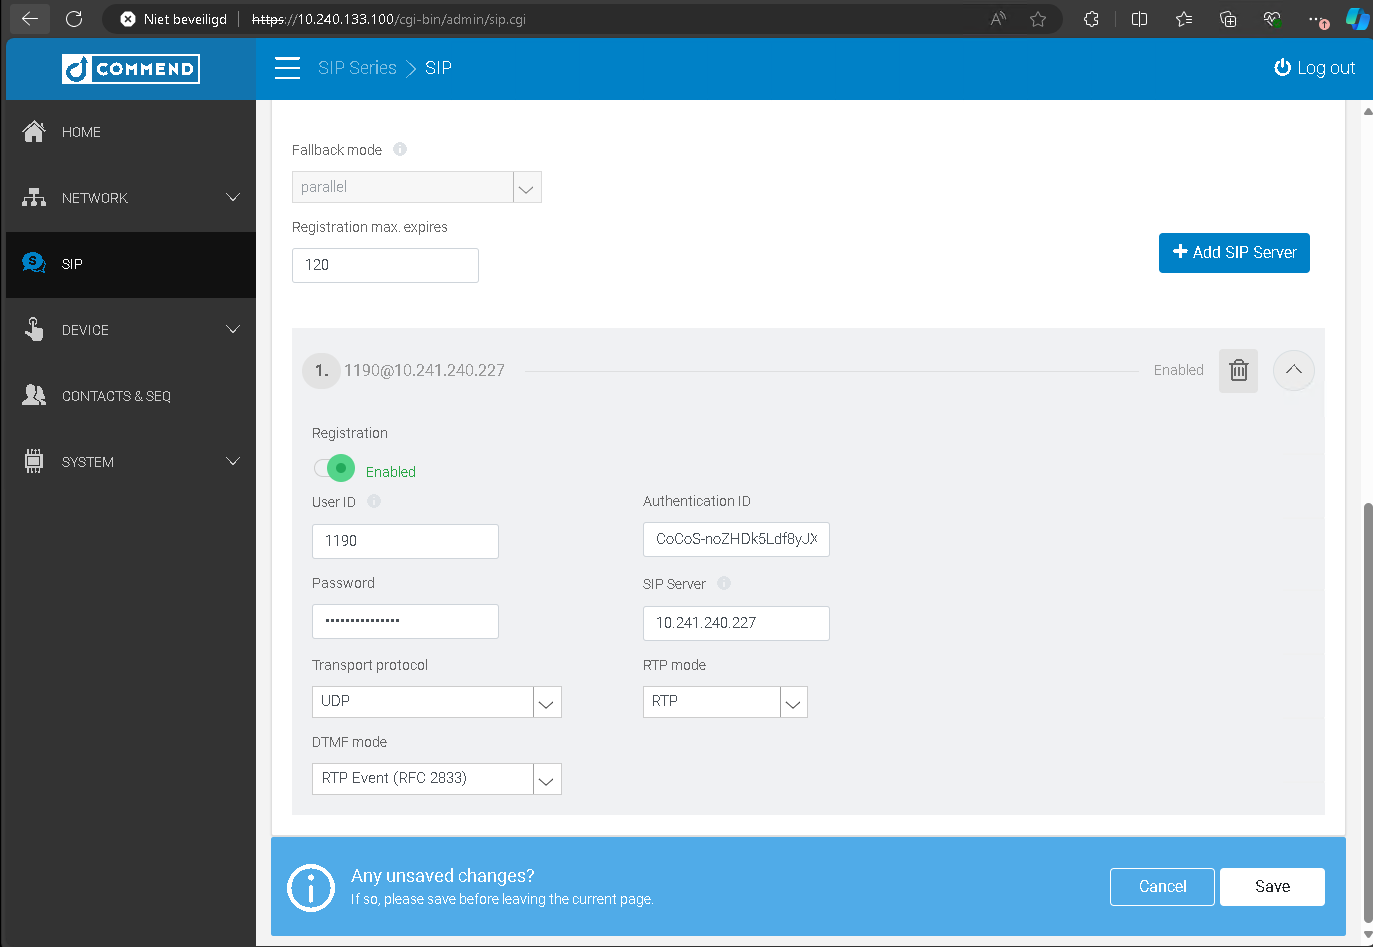
Add a SIP server.
|
|
|
|
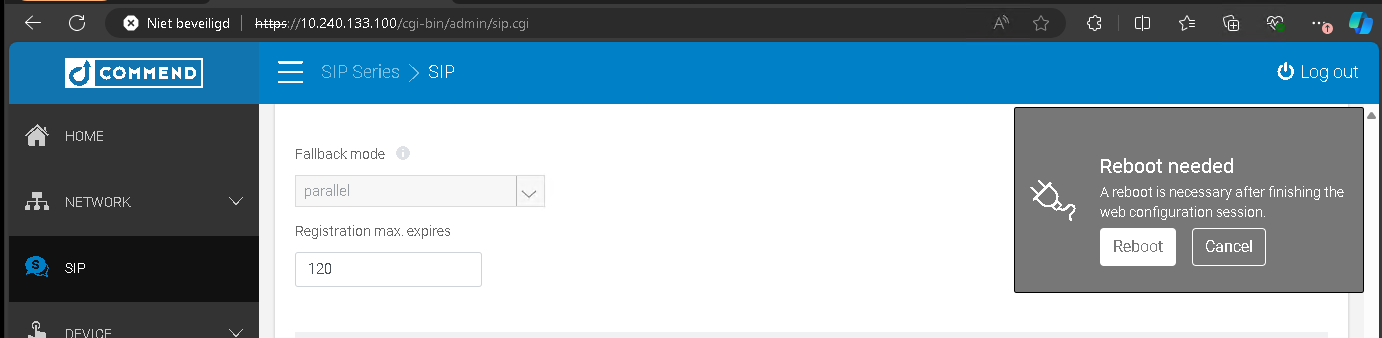
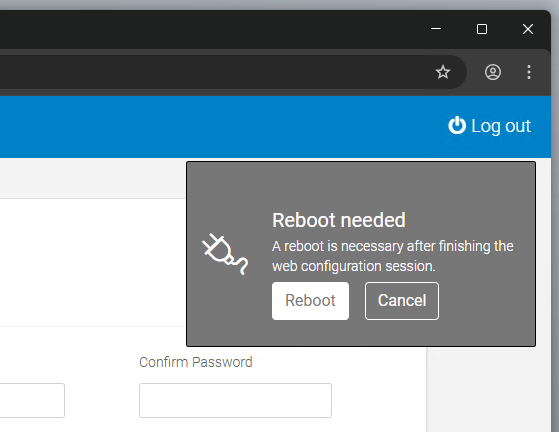
Reboot the intercom station to apply the configuration.
|
|
reboot niet nodig. |
|
Verify in CoCoS whether the SIP registration was successful. |
|
|
|
|
|


Setup a Remote User for IO control
|
|
ET908H |
IM3 |
|
Open a web browser and navigate to the web interface of the intercom station.
The username and password must be provided by the client or Sonexus. |
default user credentials: user: admin |
|
|
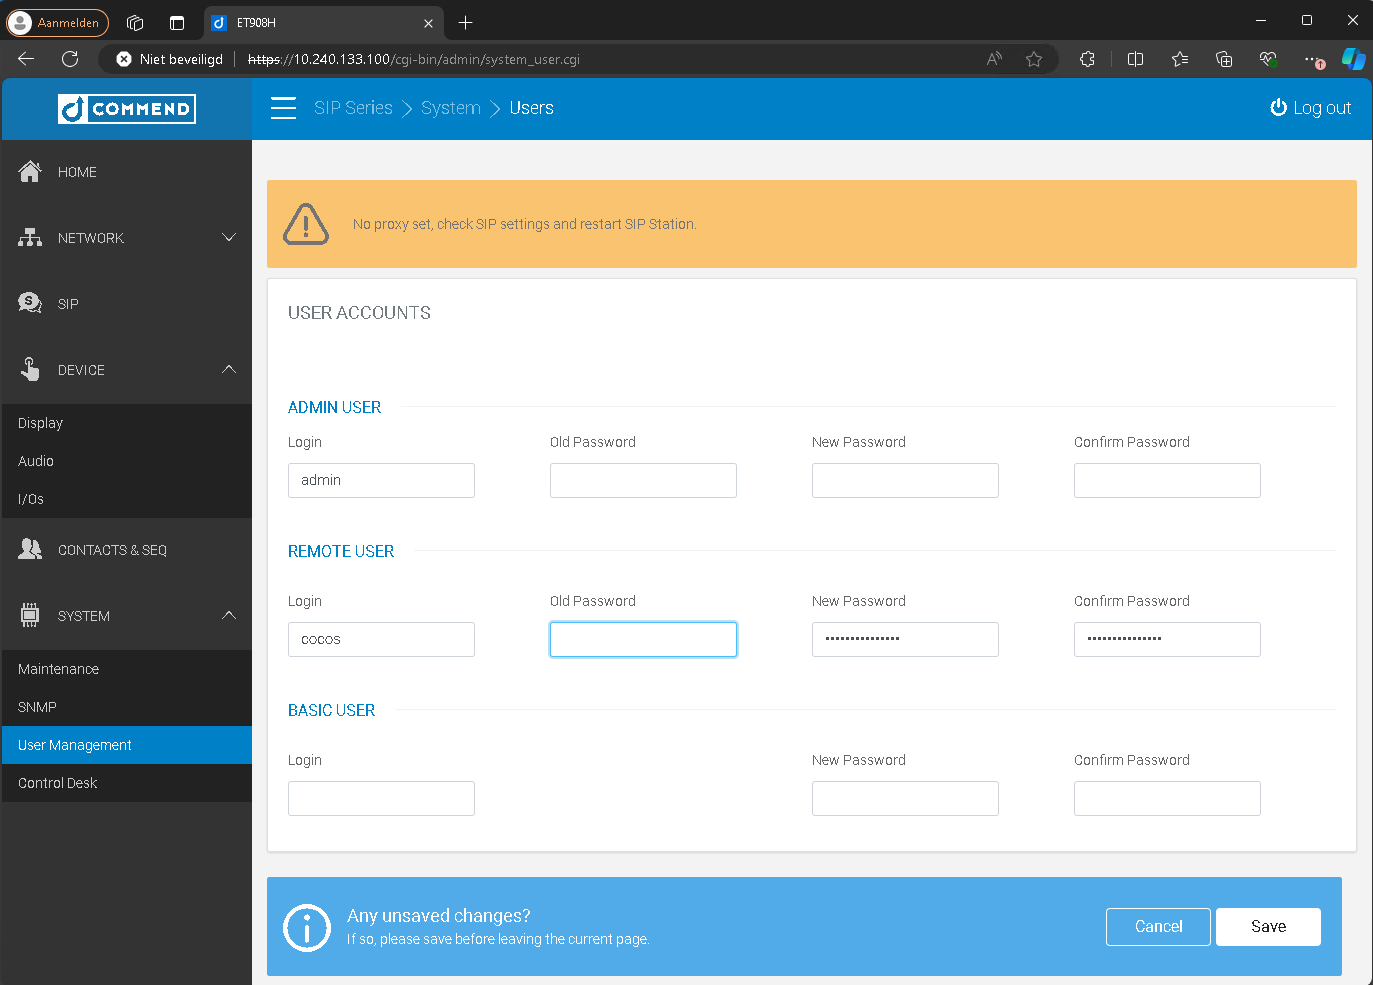
Go to System > User Management.
Create a user and set a password. Note: During the initial configuration, the field “Old Password” must be left empty.
If you receive an error indicating that the password could not be saved, the password may be too short. Use a password with at least 15 characters. |
|
|
| Reboot the intercom station to apply the configuration. |
|
Knop/Toets actie aanmaken in ET908H / IM3
|
ET908H |
IM3 |
|
|
Open de webbrowser en ga naar de webinterface van de intercompost.
De gebruikersnaam en het wachtwoord moeten door de klant of Sonexus worden opgegeven. |
default user credentials: user: admin |
default user credentials: user: admin |
|
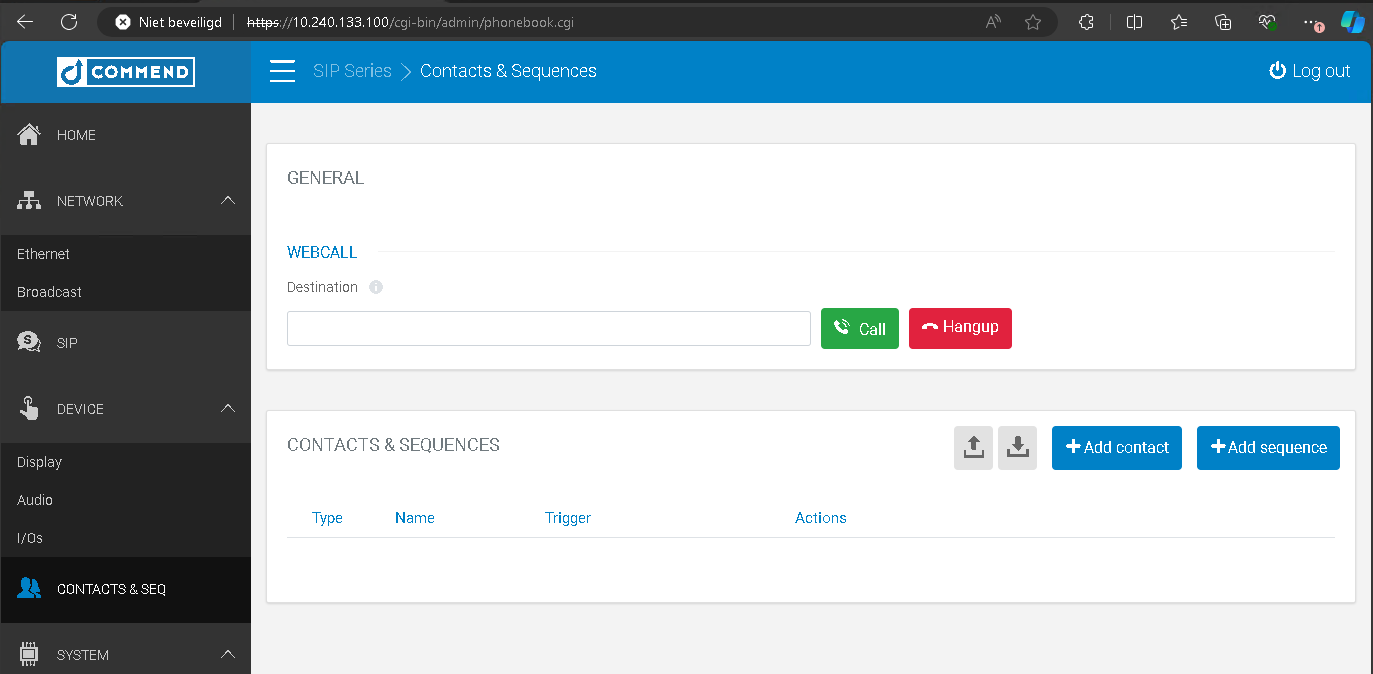
Ga naar CONTACTS ( & SEQ)
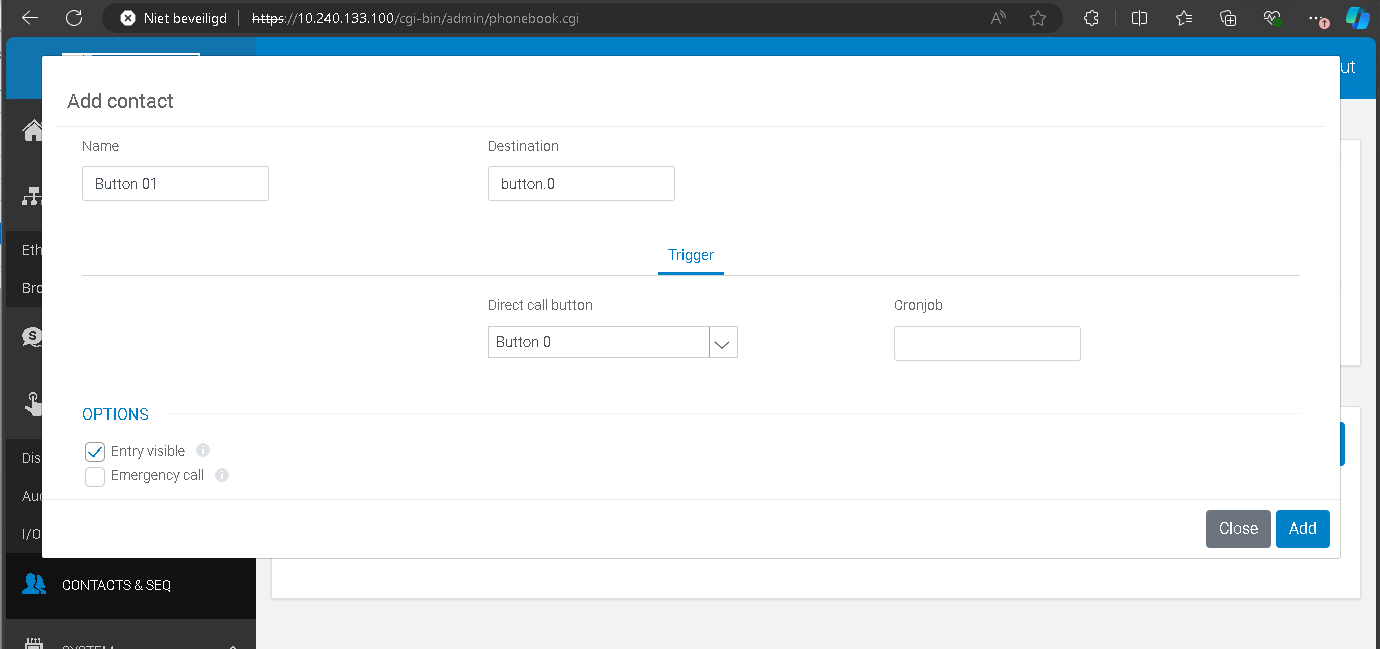
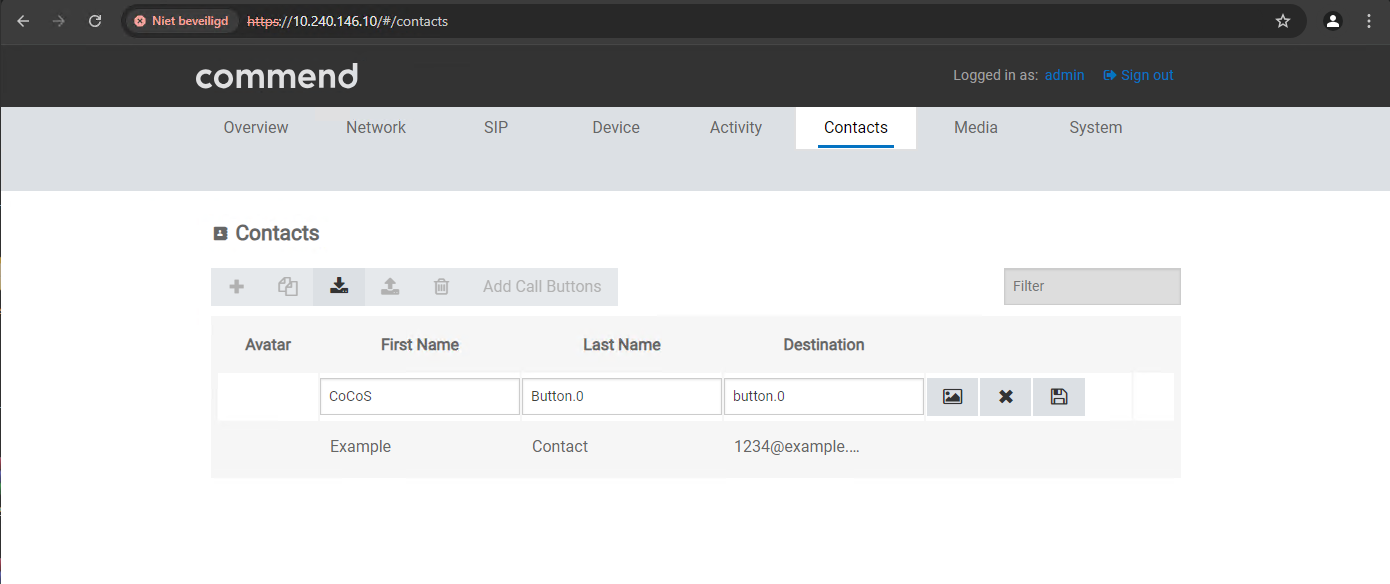
Nieuw contact aan maken voor de knop op de intercom (knop 0)
Maak een contact aan met een fictieve naam en als "Destination"
In older systems button MUST be lowercase to prevent issues. |
Selecteer bij "Direct call button" de knop die deze knop moet sturen.
|
Click op het "disk" icoon om op te slaan. |
|
|
|


Callhandling for button 0
|
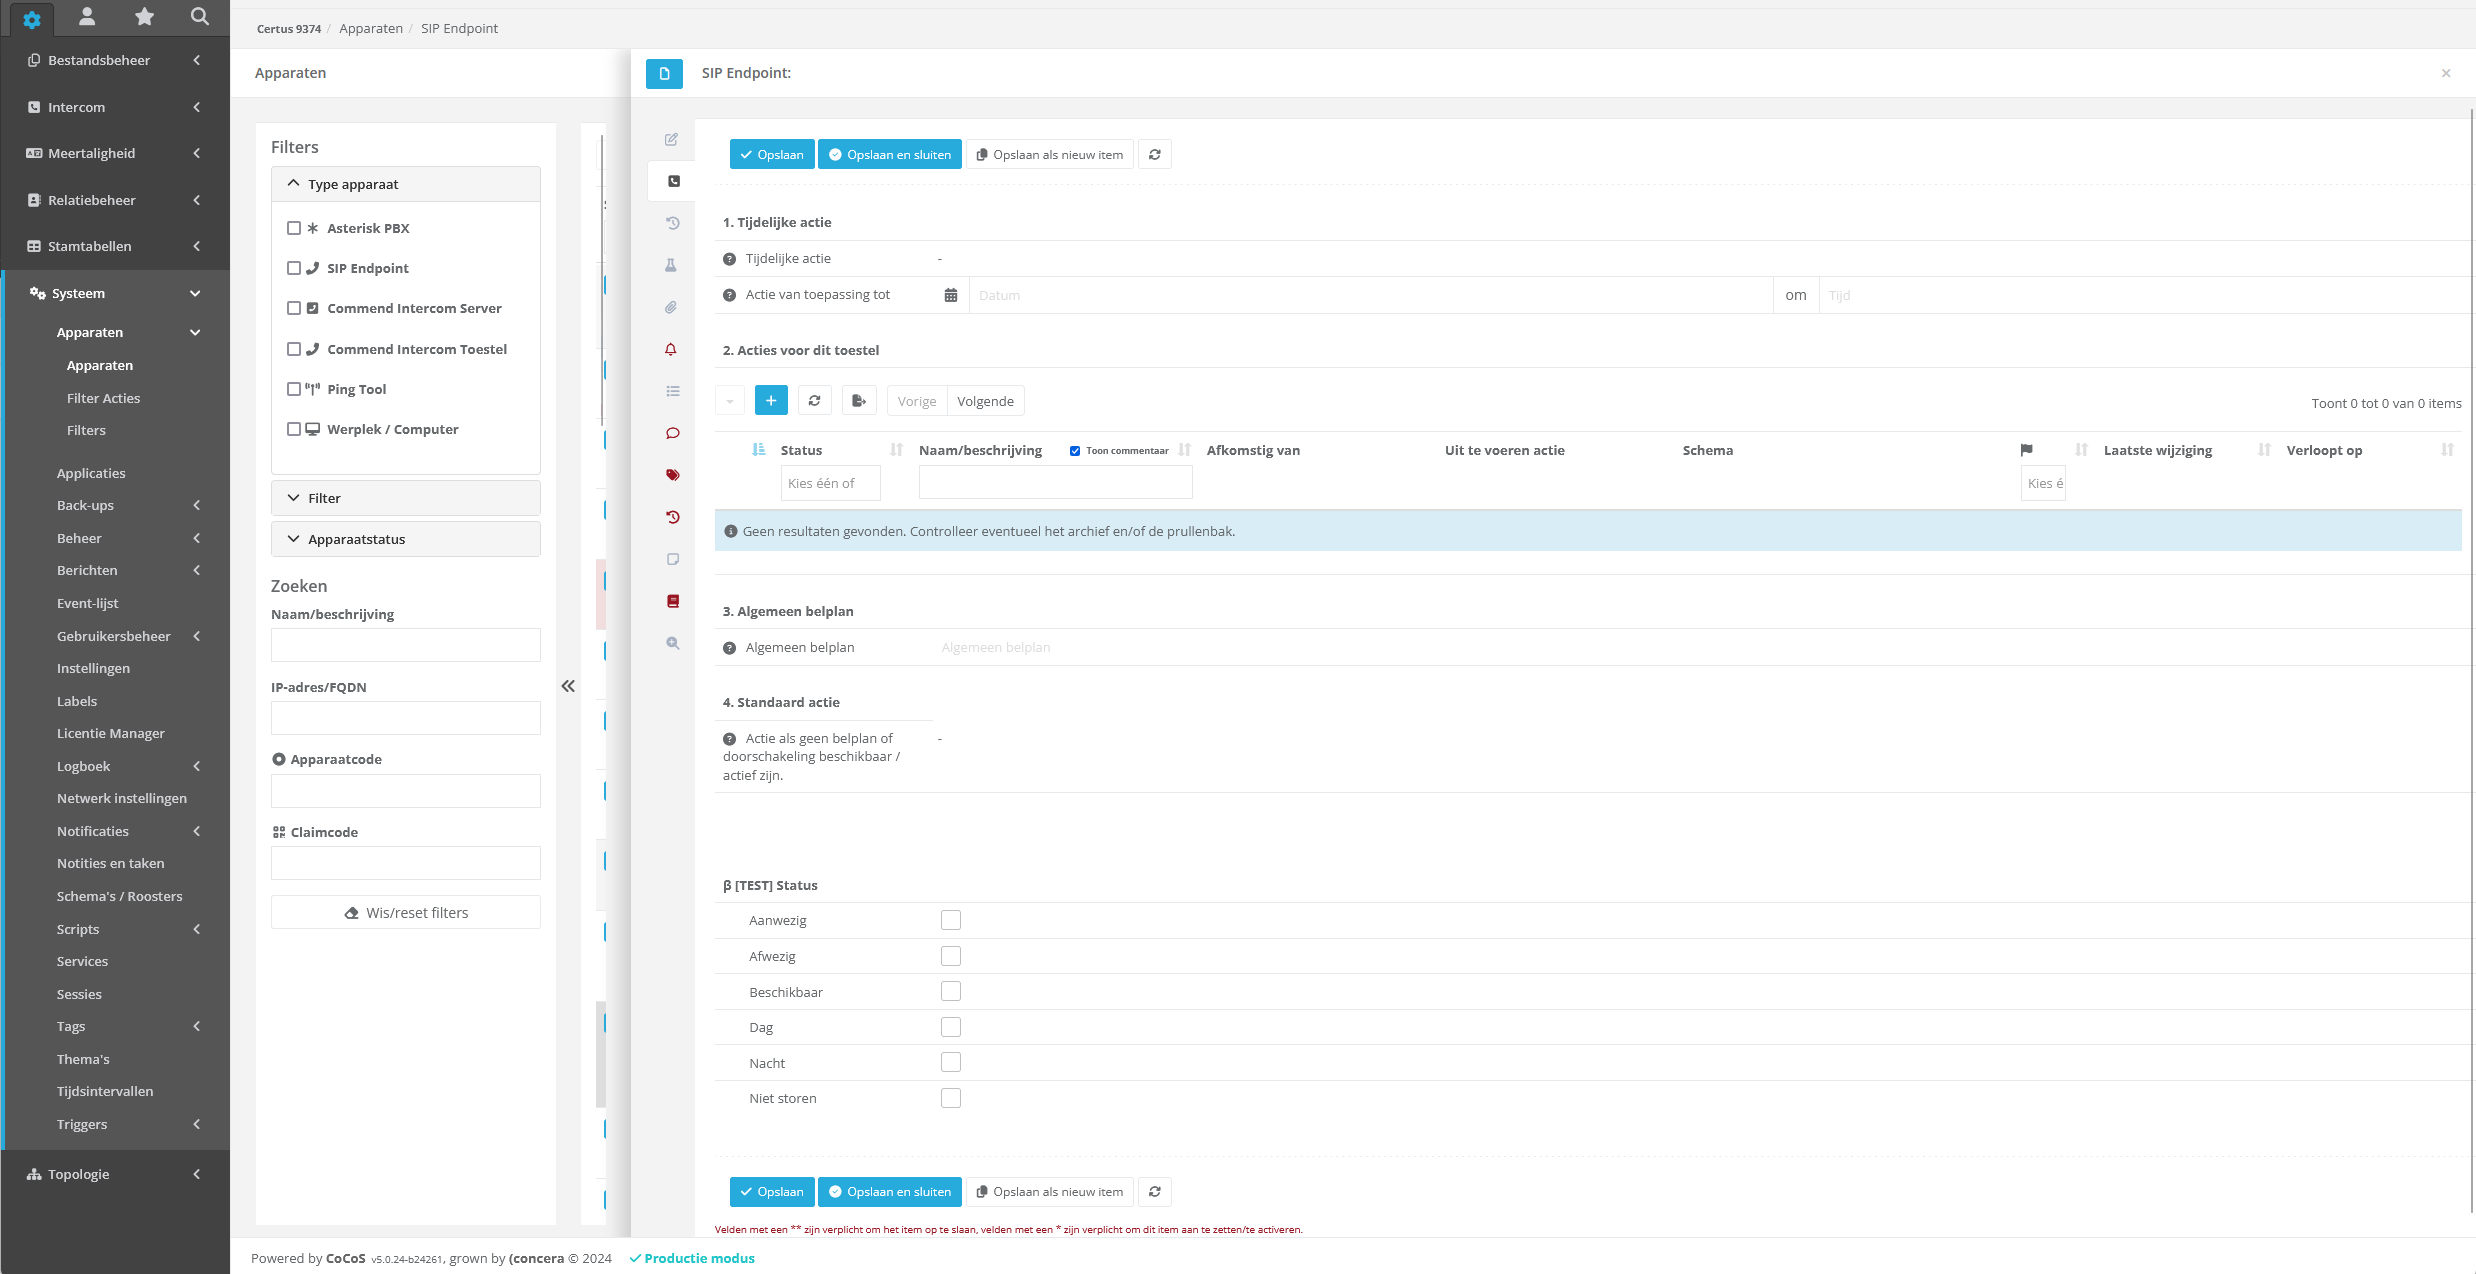
Ga in CoCoS naar het toestel in Systeem/Apparaten/Apparaten waarvoor de configuratie is opgezet en waarvoor button 0 moet worden gekoppeld aan een bel actie.
Kies vervolgens de optie : Oproepafhandeling. |
|
|
Maak een nieuwe actie aan middels de [ + ] toets en maak de actie aan om "knop/toets" af te vangen.
In nevenstaande geval is een vast nummer gekozen, maar het is ook mogelijk om een algemeen belplan toe te wijzen ipv een "actie" waarin de afhandeling is geconfigureerd voor knop 0. |
|
|
|


Testing configuration
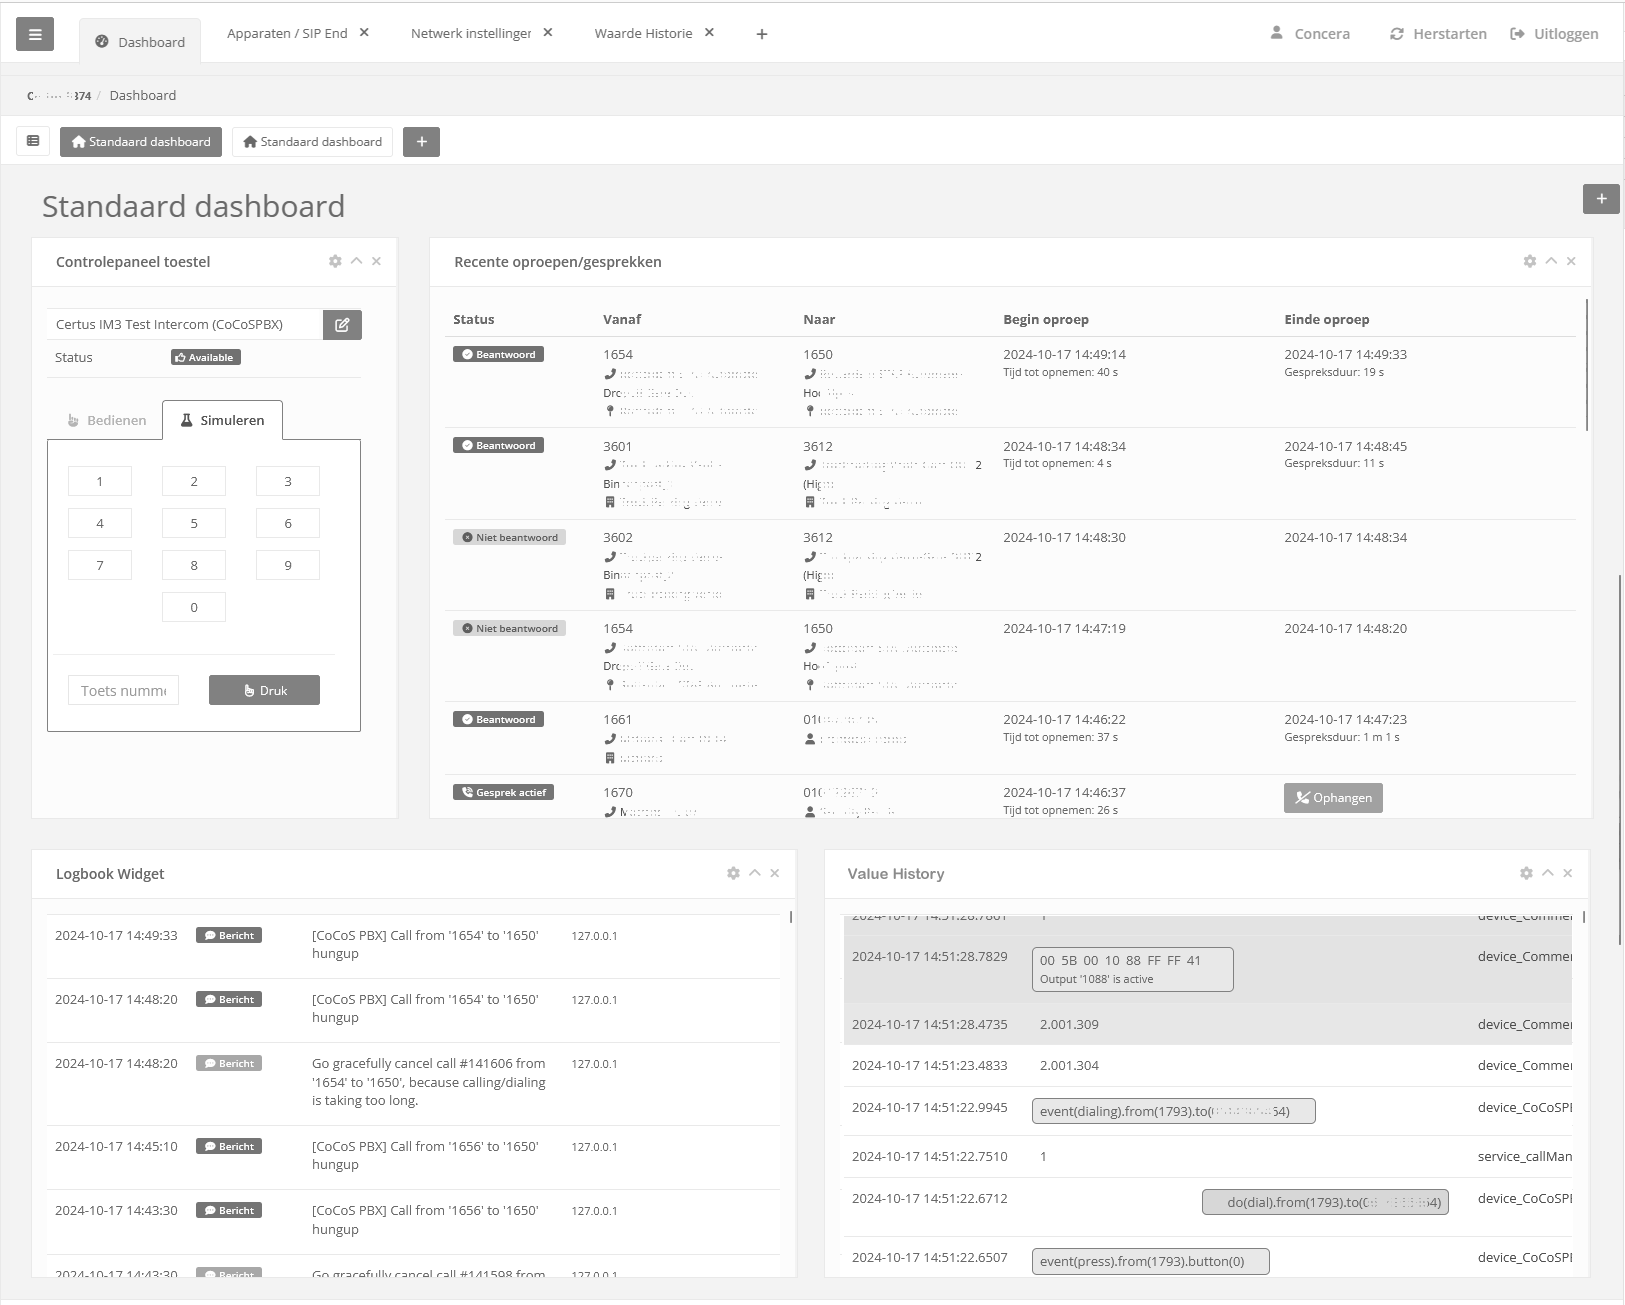
Testing the configuration is currently only possible with a SIP configuration by simulating the “0” key. In the dashboard, a widget is available for this purpose. Add this widget to a dashboard.
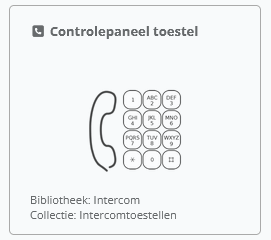
Below is an example where a “control panel device” has been added, along with the call history, logbook, and value history. By simulating the “0” key, this action becomes visible in the value history. It is also shown in the call logging, and—if applicable—related logbook entries for the call will appear.
All functionality can be tested directly from the dashboard.
The action of DTMF input (e.g., triggering a script) is also visible, for example when a log entry is generated in the logbook. The DTMF tone itself will also appear in the value history.
Troubleshooting
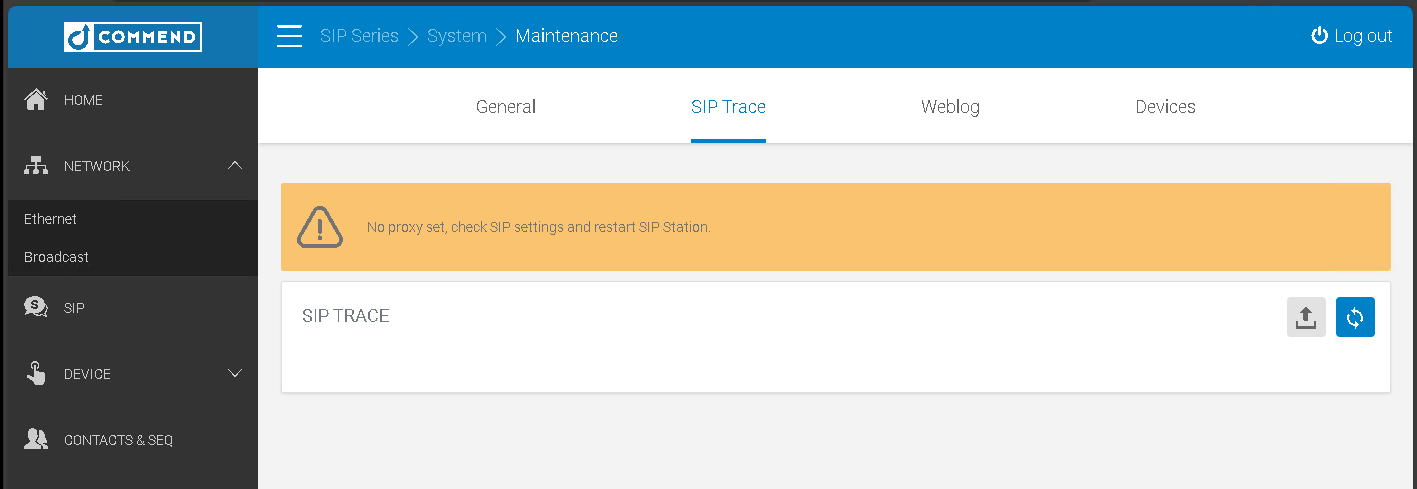
"No proxy set, check SIP settings and restart SIP station" melding in ET908H
|
Symptoom:
Oplossing: Configureer de SIP instellingen onder SIP op de juist manier.
|
|