How-to configure callHandling based on a received buttonpress from an intercom
Question or Case description
This guide describes how to configure CoCoS in order to handle a buttonpress, received from an intercom-station. Based on the received buttonPress, a dialplan/dialrule can be created, use to specify which contact (relation) needs to be called, for example based on a schedule.called.
How To
Prerequisites
On this page, we'll only cover the configuration in CoCoS and therefore assume that the intercom-station is configured correctly, in order to send a button-press to CoCoS.
How To
Before you start, please keep in mind: When configuring a call-action for a button at a intercom station (using a global diaplan), create only 1 rule per button. When schedules or more advanced options are nessecary to create conditions based on which the call has to be forwarded elsewhere, configure this as the relation used as target (forward to) for the buttonpress.
See page: How-to configure alternate rules/forwards when dialing to a relation/contact at https://knowledgebase.cocos.software/books/cocos-knowledgebase/page/how-to-configure-alternate-rulesforwards-when-dialing-to-a-relationcontact.
For a single intercom station:
| |
| Step 1: Navigate to "Intercom / Intercom stations" or "Intercom / configurations" and open the intercom station for which you want to handle a received buttonpress. | |
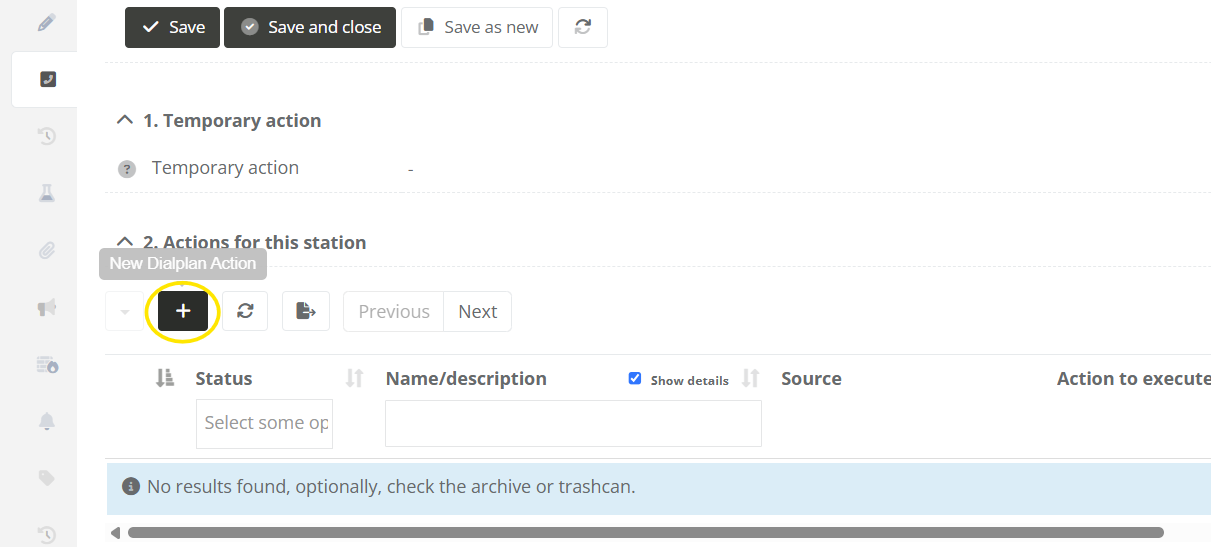
| Step 2: Navigate to the "Call-Handling" tab, and click on the new dialplan action button under "2. Actions for this station". |
|
|
Step 3: Fill in the field for the diaplan action. In section "1. How is the call/action initiated?", choose the following options:
|
|
|
Step 4: In section "2. Which action needs to be taken?", choose the following options:
|
|
| Step 5: Save the dialplan action. Tab "Call-Handling" at the intercom station will now display that "Company X" is called when button 0 is pressed at the intercom station. |
|
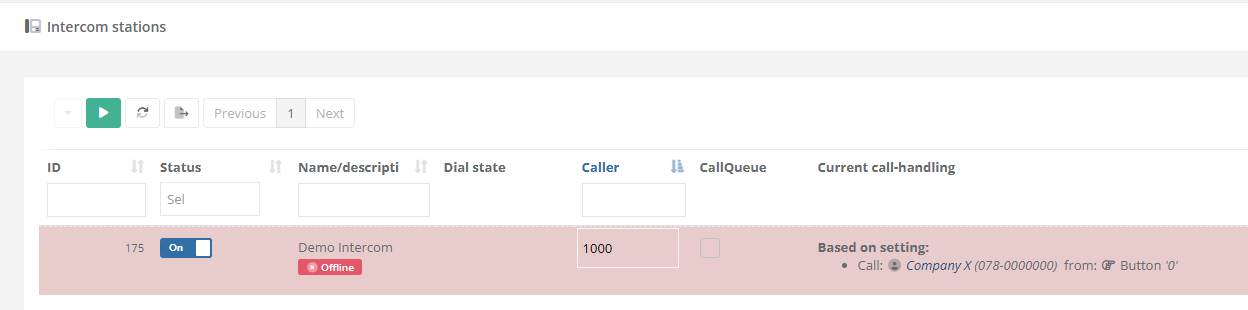
| Step 6: After saving and closing the Intercom Station, the list with all devices will display the configuration in column "Current call-handling". The custom action will be dispayed wuith the text "Based on setting". |
|


FOR
For MULTIPLEa INTERCOMmultiple STATIONS:intercom-stations:
When multiple intercom stations at a site/location all require the same configuration, a "Global dialplan" can be used. This way, the same configuration can be applied to multiple devices simultaneously.
|
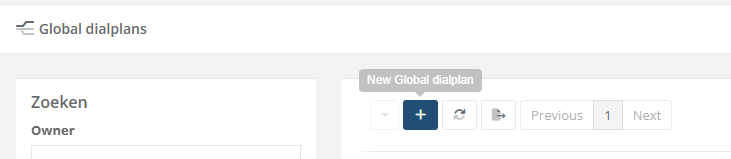
When no global dialplan is available yet, create and configure a new one. Otherwise, continue directly with step 6. |
|
|
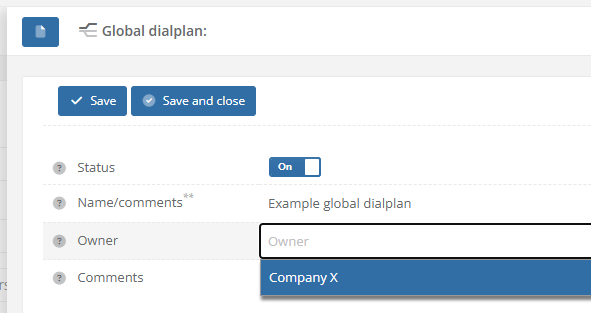
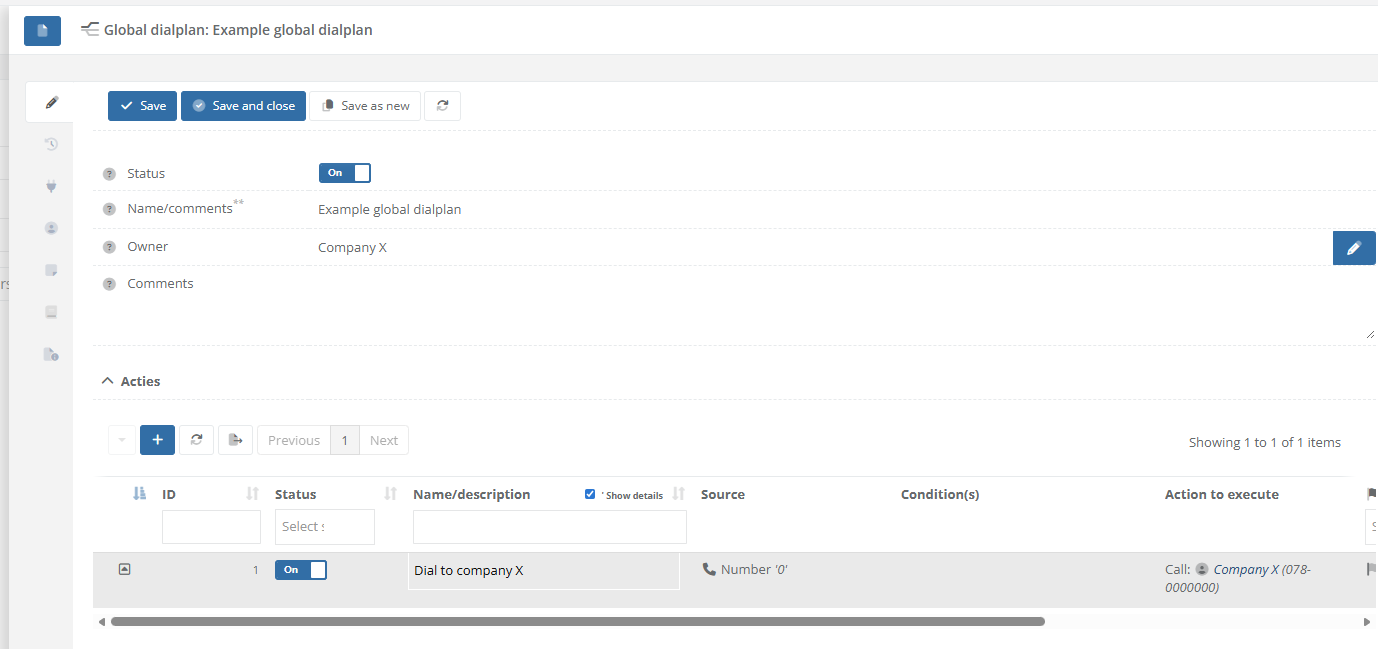
Step 2: Create a new dialplan by giving it a name. Optionally, select the owner/relation is belongs to. |
|
|
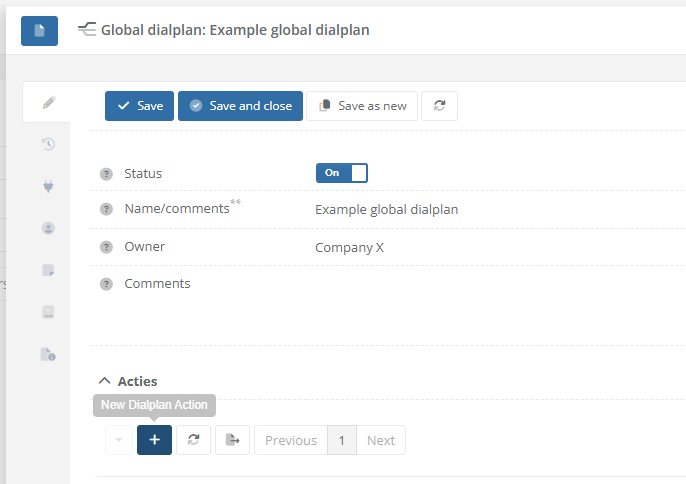
Step 3: After saving the Global dialplan. Use the [ + ] sign in the list with actions in order to add a new new rule. |
|
|
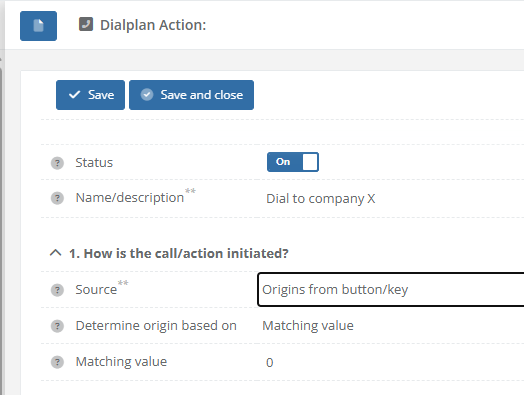
Step 4: Fill in the field for the diaplan action. In section "1. How is the call/action initiated?", choose the following options:
|
|
|
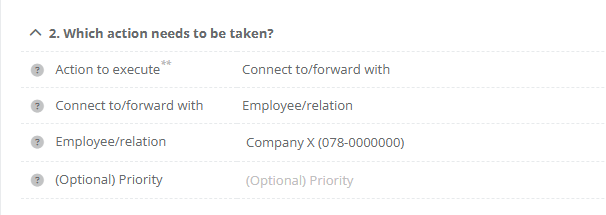
Step 5: In section "2. Which action needs to be taken?", choose the following options:
|
|
| Step 5: Save the dialplan action. The list with "Actions" at the global dialplan will now display that "Company X" is called when button 0 is pressed. |
|
|
Step 6: Navigate to "Intercom / Intercom stations" or "Intercom / configurations" and open the intercom station for which you want to handle a received buttonpress. |
|
|
Step 7: Navigate to the "Call-Handling" tab. In section "3. Global dialplan", select which the dialplan to use. |
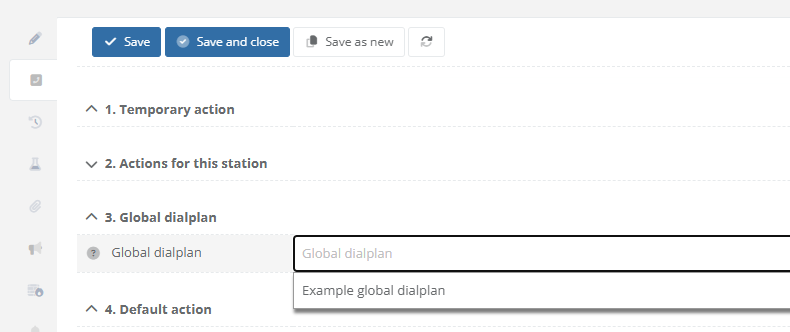 |
| Step 8: After saving and closing the Intercom Station, the list with all devices will display the configuration in column "Current call-handling". The custom action will be dispayed wuith the text "Based on dialplan". |
|
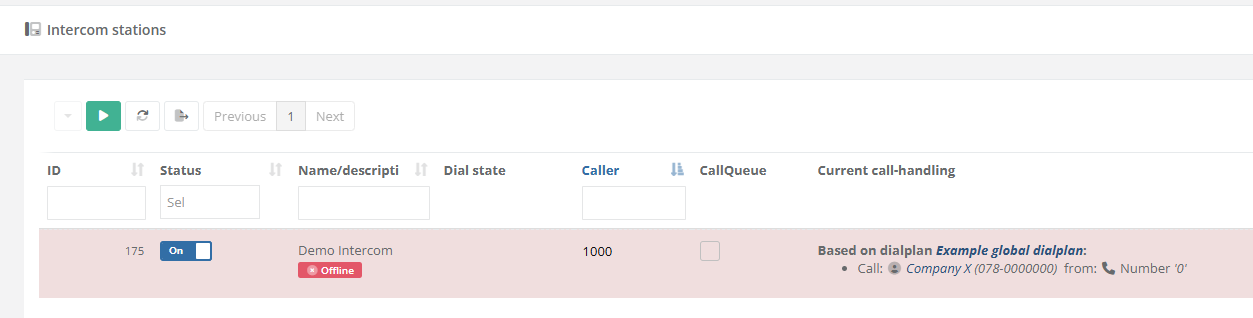
Based on the examples above, the relatinon "Company X" willl be called when button 0 is pressed at the intercom station(s).
When schedules or more advanced options are nessecary to create conditions based on which the call has to be forwarded elsewhere, configure this as the relation used as target (forward to) for the buttonpress. See page: How-to configure alternate rules/forwards when dialing to a relation/contact at https://knowledgebase.cocos.software/books/cocos-knowledgebase/page/how-to-configure-alternate-rulesforwards-when-dialing-to-a-relationcontact.
References
Describe where- to find external answers or extra information's